Advanced POS UI - UI Debugger Tool
Dernière mise à jour
Cet article vous a-t-il été utile ?
Dernière mise à jour
Cet article vous a-t-il été utile ?
This article describes how to enable the UI Debugger Tool for the Advanced POS User Interface. This tool is used internally by PayFacto when troubleshooting issues with the Advanced POS User Interface. In a nutshell, this allows a web browser to connect to the Workstation's interface to see error messages that the POS is normally unable to display by itself.
IMPORTANT! Use this functionality in a lab environment and for troubleshooting purposes only. Please contact PayFacto support for further assistance using this feature.
By default, the UI Debugger tool is disabled. This configuration is global, therefore it will apply to all the workstations on your Maitre'D POS system. Here is how to enable it:
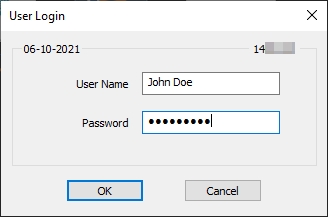
Logon to the Maitre’D Back-Office with appropriate credentials. (Distributor or System Owner)
Start the Server Control module.
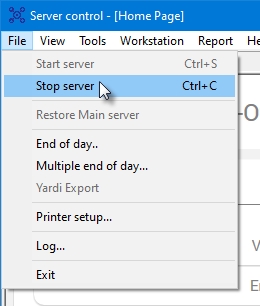
Click on the File menu and select the Stop Server option.
Once the server is stopped, close any open modules and logoff from the Maitre'D Back-Office.
Using FIle Explorer, browse to C:\POSERA\MaitreD\DATA and locate the BO.INI file.
Open the BO.INI file using any text editor, such as Notepad or Notepad++.
Locate the [Miscellaneous] Section. Then, add the following line under the [Miscellaneous] section:
HtmlUIDebugger=True
NOTE: Setting this value to "True" enables the UI Debugger. Setting it to "False" turns it off. Omitting the line altogether is the same as setting it to "False".
Save your changes to the BO.INI file and close it.
You may also close the File Explorer window.
Logon to the Maitre’D Back-Office with appropriate credentials. (Distributor or System Owner)
Start the Server Control module.
Click on the Make Workstation Data quick link.
Wait for the process to complete. The entire process could take from a few seconds to a few minutes, depending on your system's performance and the number of workstations on your Maitre'D license.
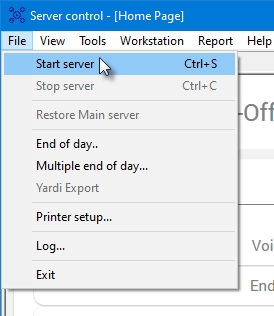
Click on the File menu and select the Start Server option.
Once the server is started, you may close any open modules and logoff from the Maitre'D Back-Office.
Start the POS Workstations. There is no visible difference to the Advanced POS User Interface when the UI Debugger is running.
Related Topics


