Mobile POS Application - Basics
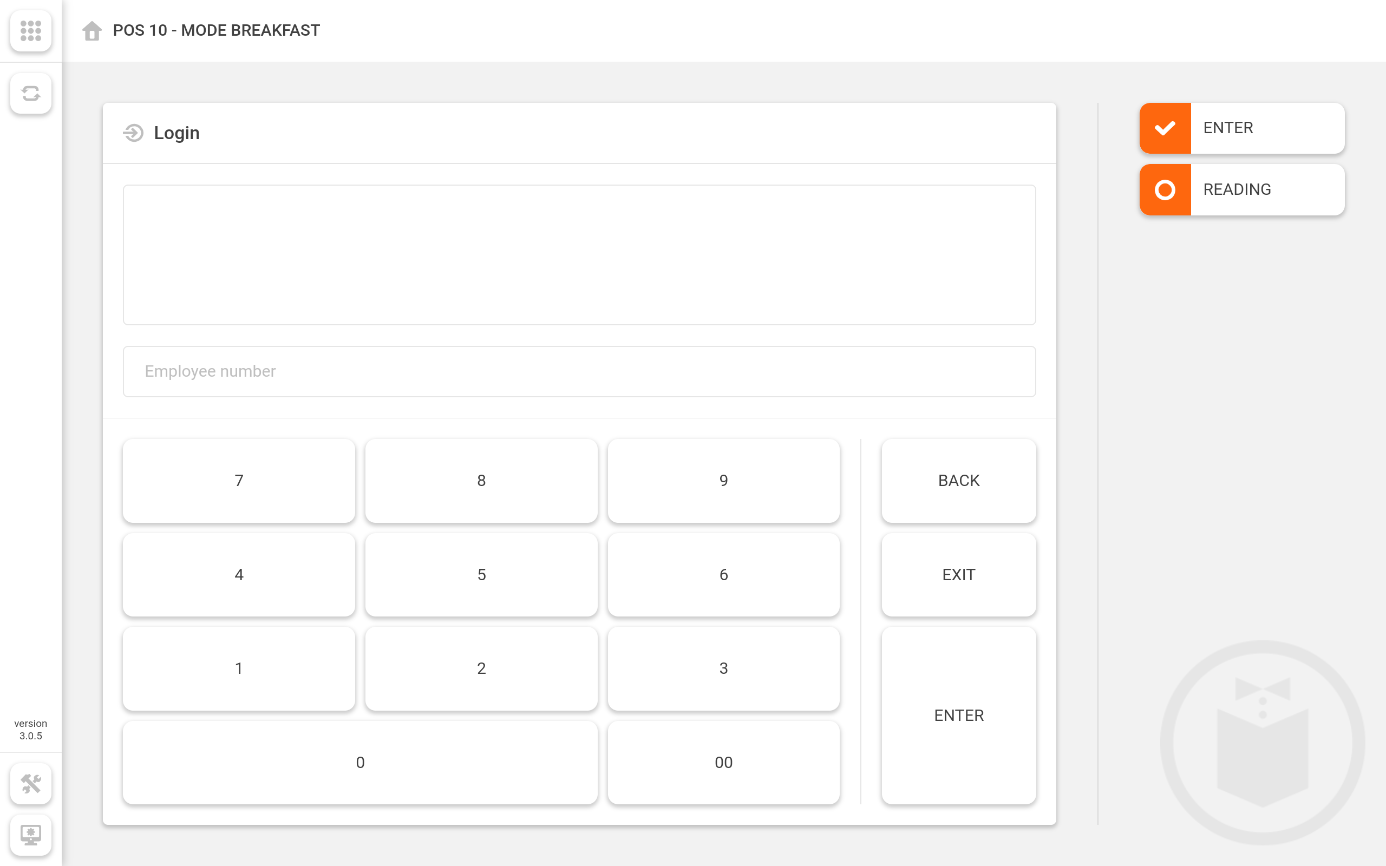
This article describes the basic layout of the Maitre'D MPOS application.
Configuration
Show / Hide Menu
Use the "9-dots" button to show or hide the side menu bar.
Update
Use the Update button to force this POS to check the Maitre'D Back-Office for changes and download any updates.
Workstation UI
Use the Workstation UI button to download User Interface (UI) assets from the Maitre'D Back-Office, such as images and graphics.
Configuration
Use the Configuration button to change the IP address of the Maitre'D Back-Office or the POS number. This can also be used to desynchronize this POS from the Maitre'D Back-Office. This will free up a POS number for use by another tablet.
Keypad Area
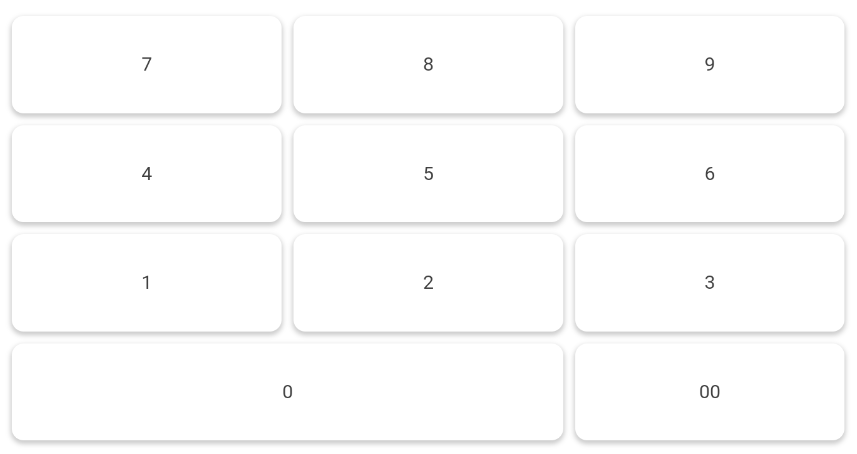
Keypad
Use the keypad to enter employee numbers, table number or check numbers.
Back
Use the Back button to correct mistakes.
Exit
Use the Exit button to return to the previous screen.
Enter
Use the Enter button to confirm the employee, table or check number after typing it in.
Right-Hand
Enter
The Enter key on the right-hand side of the screen has the same function as the Enter key on the keypad.
Reading
Type an employee number followed by the Reading key to view that employee's open tables and financial report.
Related Topics
Dernière mise à jour
Cet article vous a-t-il été utile ?