Enabling the Advanced POS User Interface
Enabling the Advanced POS User Interface (UI) is pretty straightforward. This article describes the procedure in detail.
Before you begin
Before enabling the Advanced POS UI, make sure that all your POS workstations already work in Legacy mode.
Enable the Advanced POS UI
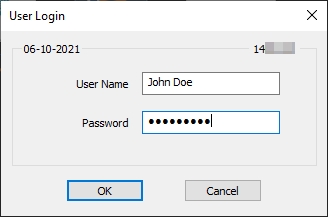
Logon to the Maitre’D Back-Office with appropriate credentials. (Distributor or System Owner)

Start the Point of Sale Control module.

Click on the View menu and select the Options... option.

The Point of Sale Control module's options window opens on the Configuration branch.

Click on the POS sub-branch and enable the Use advanced POS UI option.

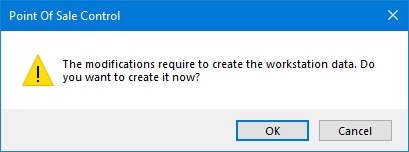
Click OK. You will be asked to create the workstation data. Click OK to proceed. The entire process could take from a few seconds to a few minutes, depending on your system's performance and the number of workstations on your Maitre'D license.


The options window will close, and you will be back to the Point of Sale Control module.
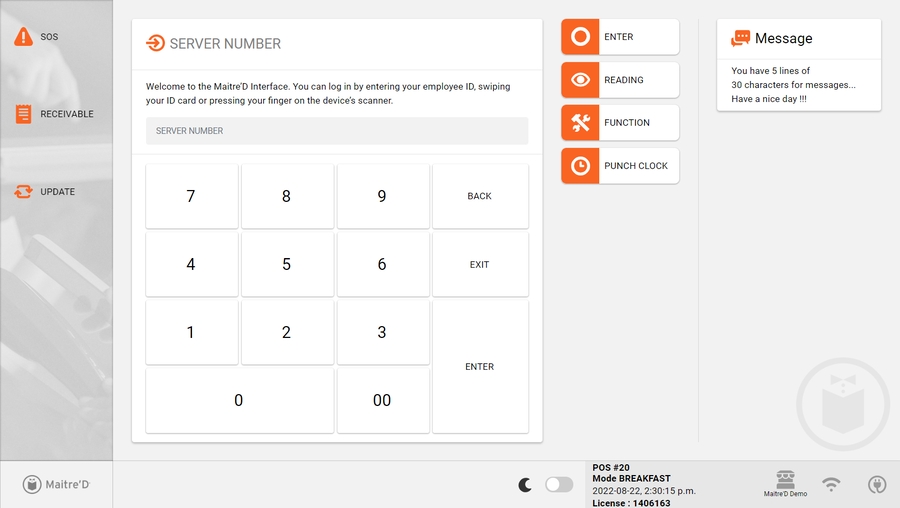
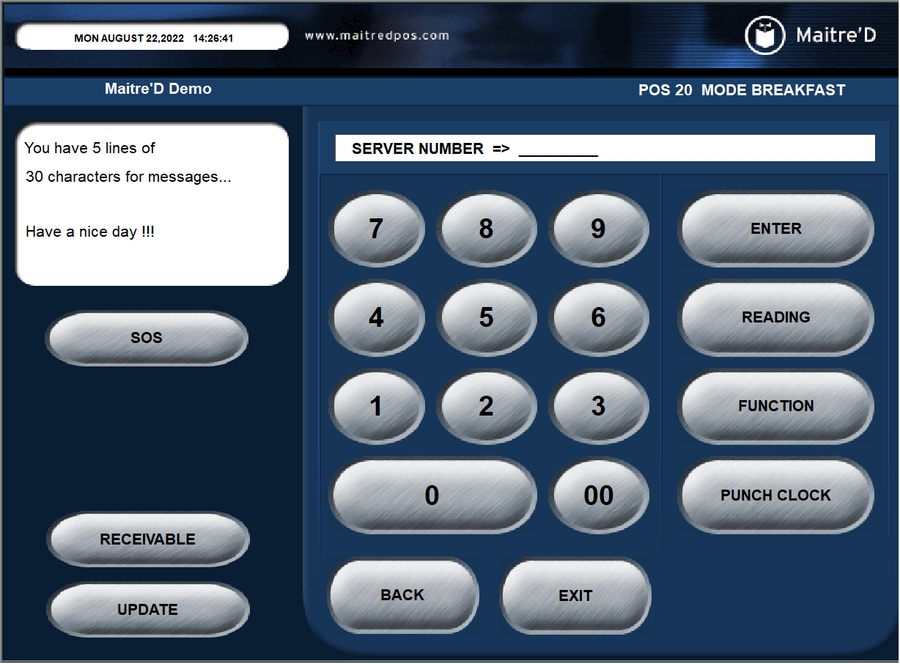
At this point, the POS workstations should automatically restart with the Advanced POS User Interface.
Legacy POS User Interface
Advanced POS User Interface
Related Topics
Last updated


