Add a third language profile in Veloce
While Veloce provides full support for English and French only, it is possible to configure sales items, divisions, big divisions, screens, etc, with an alternate language. For instance, you could have second names in Spanish and have employees see that at the POS, while printing checks in English. here are detailed instructions for doing just that:
STEP 1 - Configure language profiles in Veloce:
Login to the Veloce Back-Office.

Open the Setup/Utilities module.

Click the System Config. link. (or use the Configuration > System Configuration... menu option)

Click on the Configuration tab.

Enable the third language profile by ticking the checkbox to the left.

Type a Description for this language profile. To setup Spanish, this should be named Español.
In the Veloce column, select English, so that all elements that cannot be translated to Spanish will be displayed in English (and not in French).
In the Group/Items column, select the Second Name option. this will cause employees using this language profile to see the second name when these elements are used at the POS.
Main
If you want your employees to see Spanish descriptions on the POS interface but the items printed on guest checks need to be in English, set the Main radio button to English.
If you want your employees to see Spanish descriptions on the POS interface and you also want items to be printed in Spanish on the guest check, set the Main radio button to Español.
STEP 2 - Back-Office Users
Select the most appropriate language profile for each back-Office user. Remember that it's really the setting in the "Veloce" drop-down box of each profile that will determine the language of the Back-office user interface. Any third-language option has no effect on the Back-Office whatsoever.
Login to the Veloce Main Back-Office.
From the Main Back-Office Window, click the Tools menu and select the Users... option.

Select a user account from the list.

In the Configuration tab, set the Language drop-down list to the desired language profile.

STEP 3 - POS Employees
Logon to the Veloce Main Back-Office.
Start the Point of Sale Control module by clicking the corresponding icon.

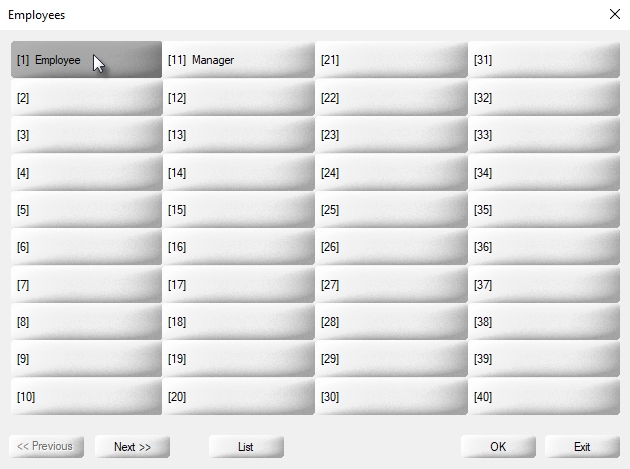
Click the Employees menu and select the Personal Files... option.

Select an employee file from the list by clicking on it.
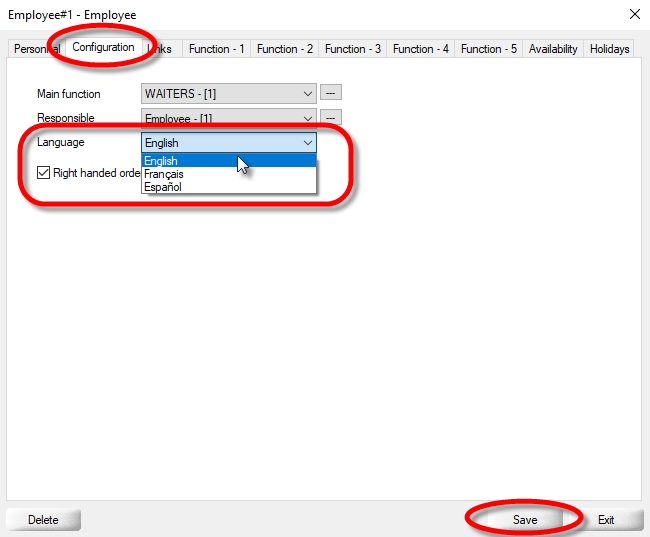
On the Configuration tab, you will see a Language drop-down list. Select the Español option .
STEP 4 - Add Second Names
Most of the elements that have a free text description also have a free text "Second Name". These include but are not limited to:
Sales Items
Divisions
Big Divisions
Item Screens
Popup Windows
Groups & Keys
Buttons
etc...


STEP 5 - Test at the POS
Check out the results at the POS:
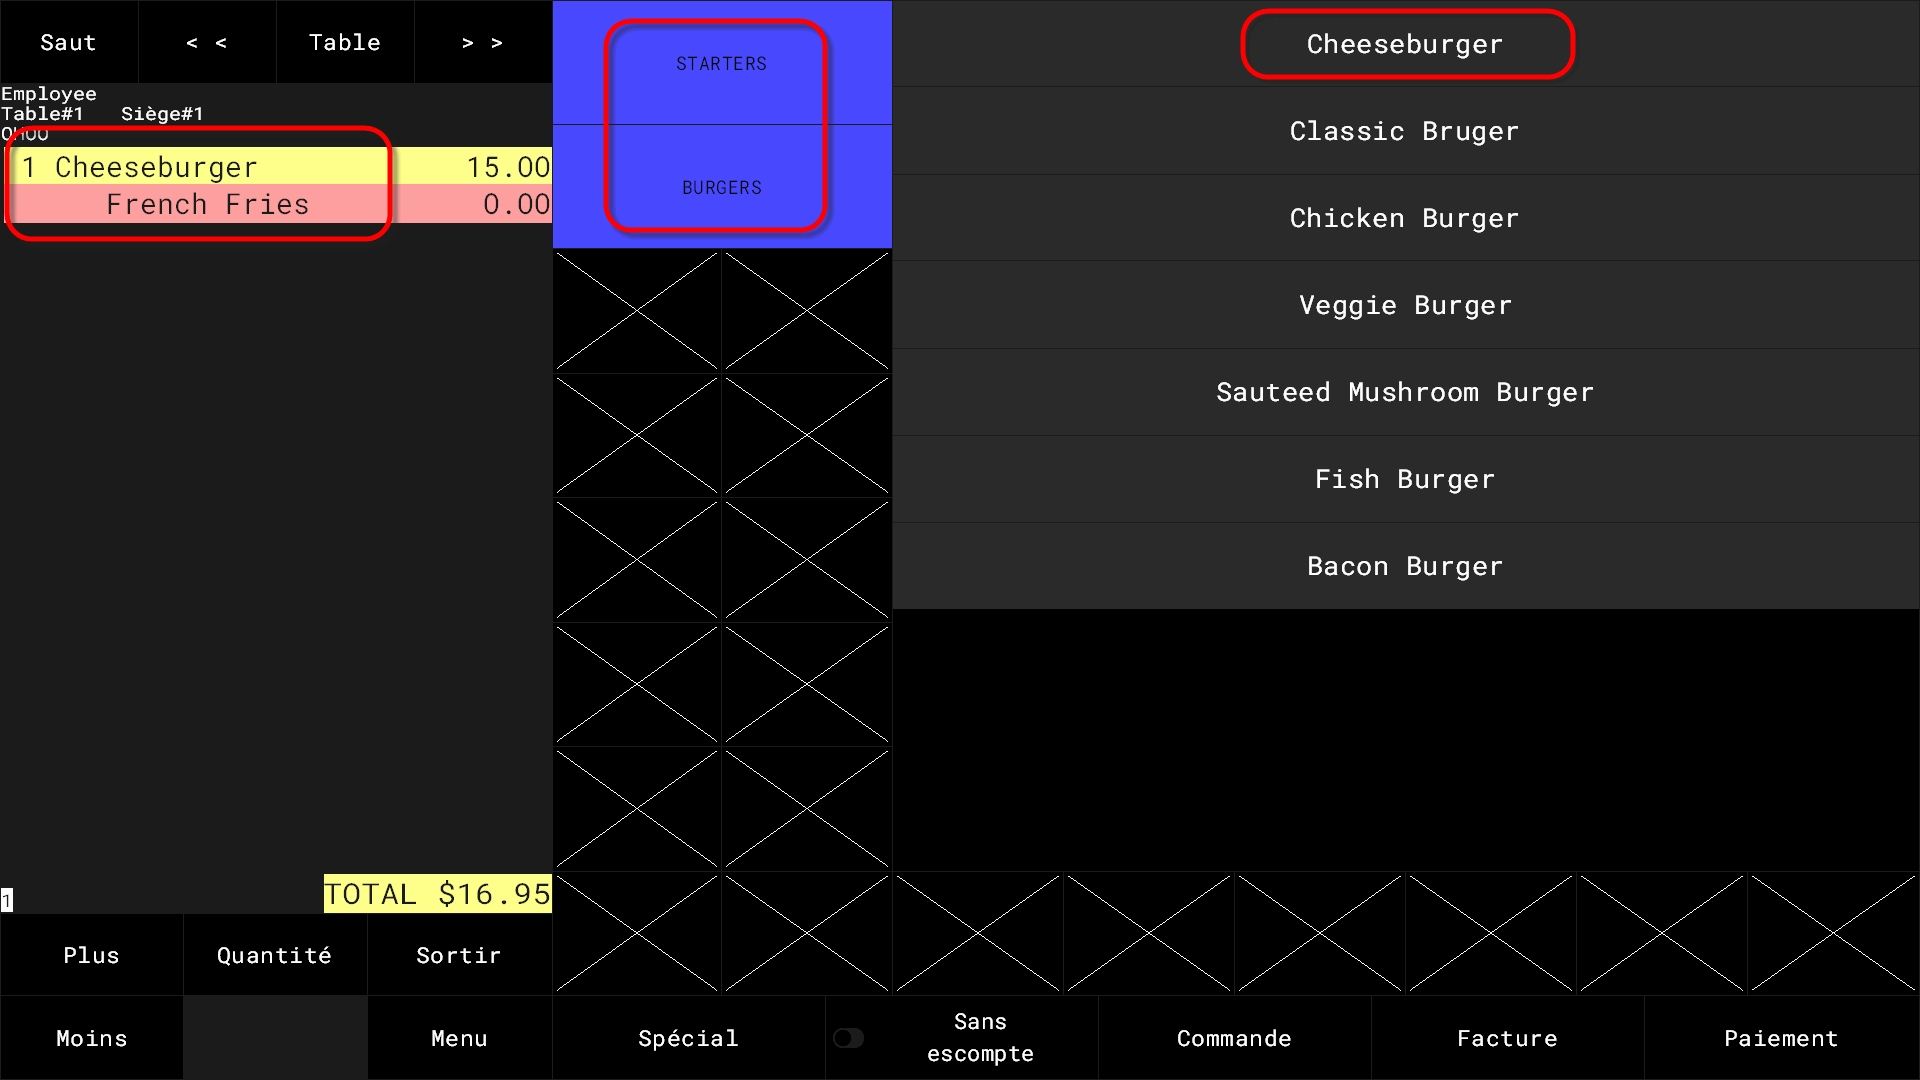
Logon with an English profile employee:
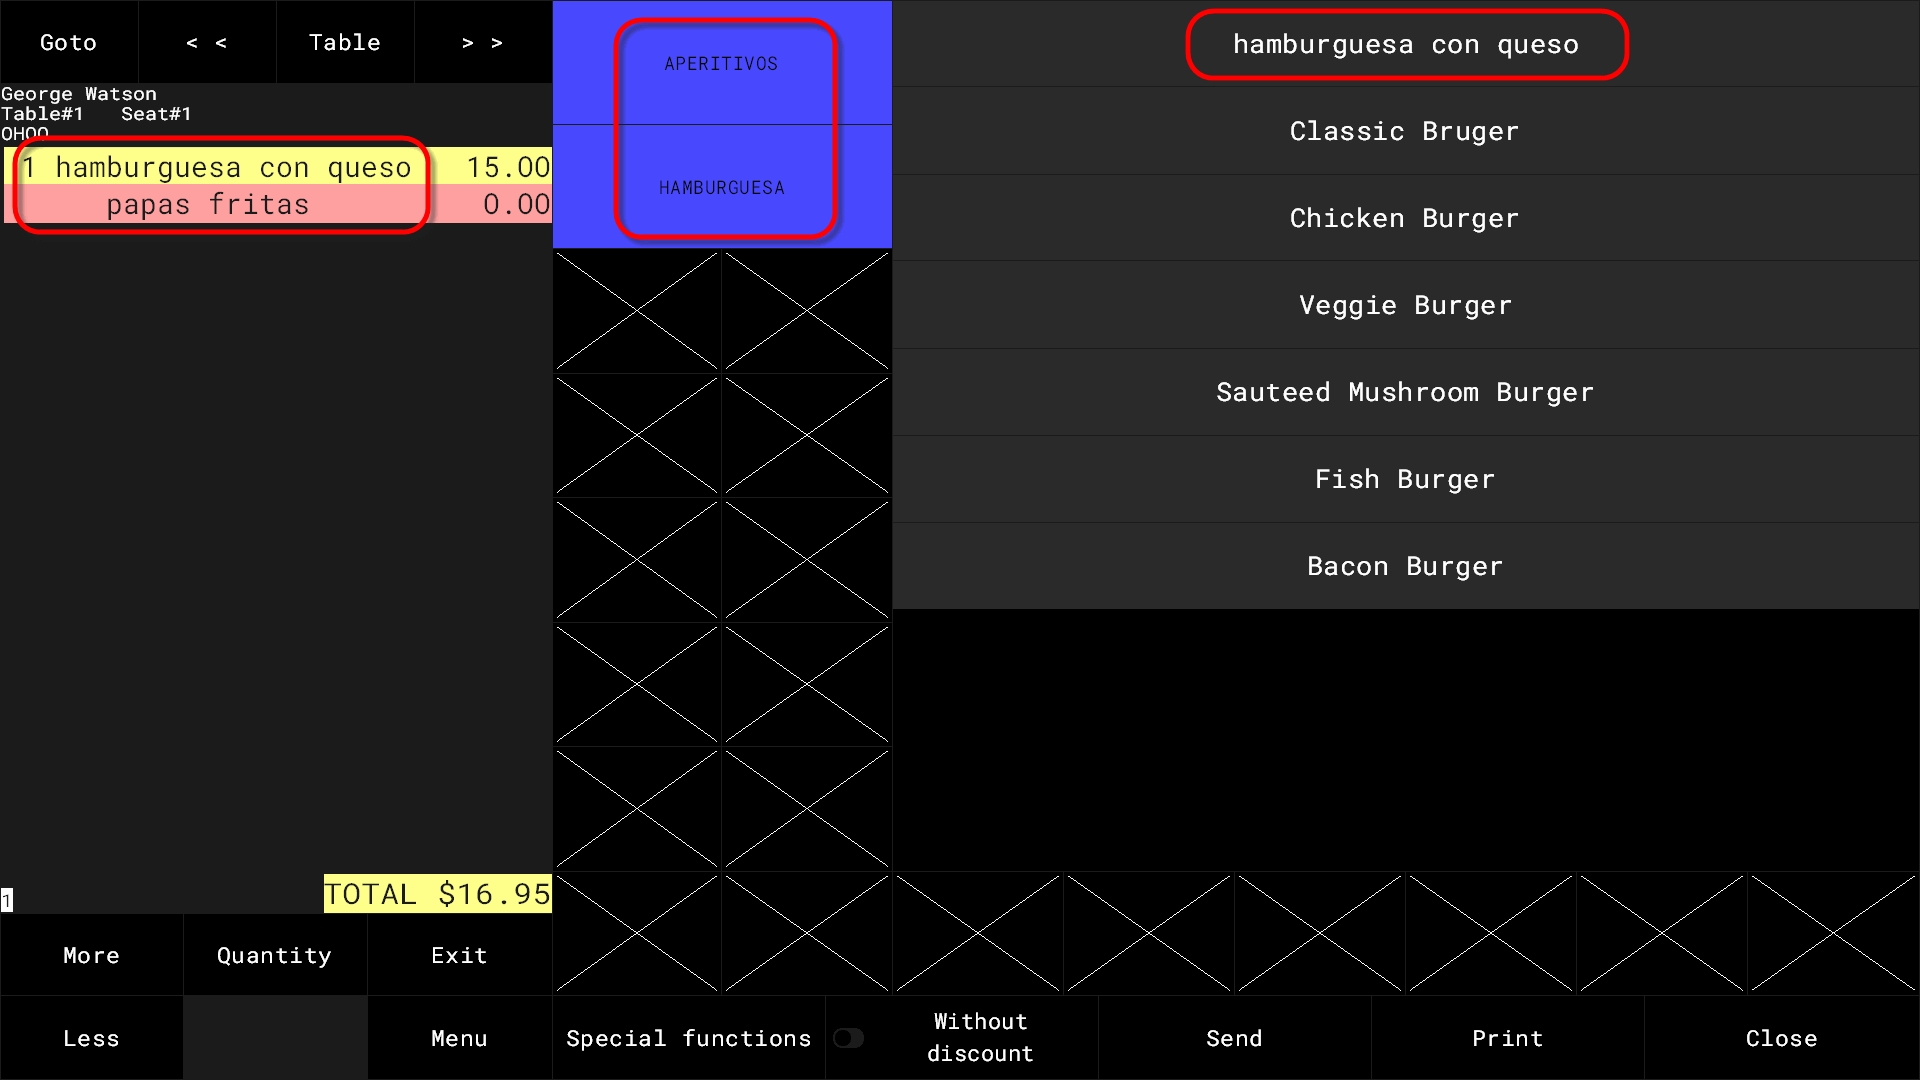
Logon with a Spanish profile employee:
Last updated
Was this helpful?