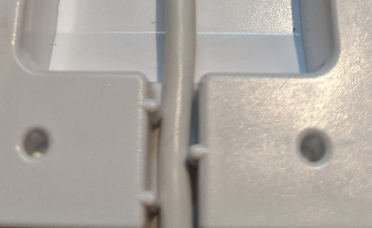
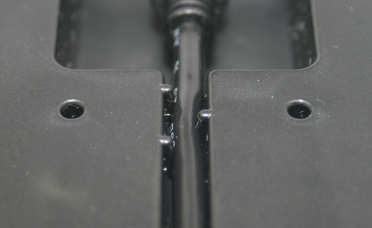
Charging Base Installation

Installing the Terminal Charging Base

Before you install and connect the charging base, make sure that the desired location is within reach of an AC outlet and that there is enough space to for the charging base and the terminal when connected.

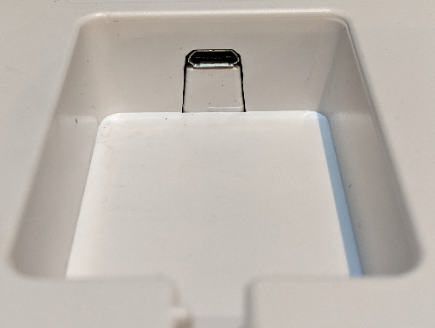
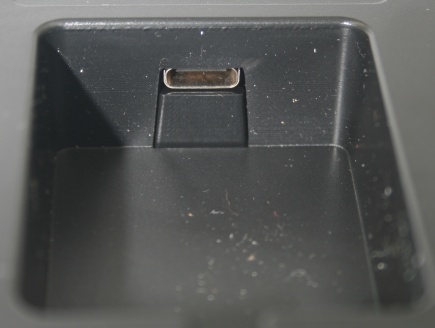
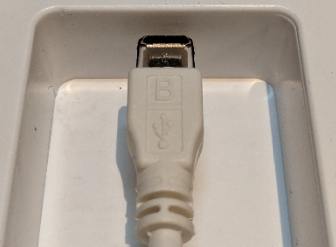
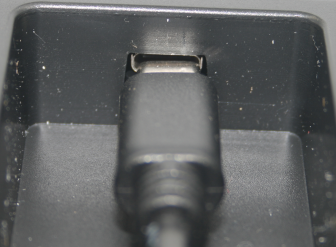
To install the charging base:

  1. Turn the charging base over and locate the USB connection port.

    A920

A920 Pro

  1. Insert the cable’s micro-USB (A920) or USB Type-C (A920 Pro) plug into the base’s connection port.

A920

A920 Pro

  1. Secure the cable in the guide at the top of the charging base and turn the charging base over.

A920

A920 Pro

  1. Connect the cable’s USB plug into the AC adapter’s USB port.

A920

A920 Pro

  1. Plug the adapter into an AC outlet. The LED at the bottom edge of the base lights up.


Installing the Terminal Silicone Sleeve

To protect your PAX A920 or A920 Pro terminal from minor impact damage, you should install the silicone sleeve provided with the terminal charging base as the charging base is designed specifically for terminals with the sleeve.

To install the silicone sleeve:

  1. Insert the top of the terminal into the sleeve's printer protection until the sleeve fits snugly onto the terminal’s top.

  2. Pull the bottom of the sleeve over the bottom edge of the terminal.

  3. Repeat for any additional terminals you intend to place on the charging base.

NOTE: To add or change a SIM card, you need to remove the sleeve from the terminal.

Last updated

Logo

© 2024 PayFacto, Inc. All rights reserved.