Working with Tips
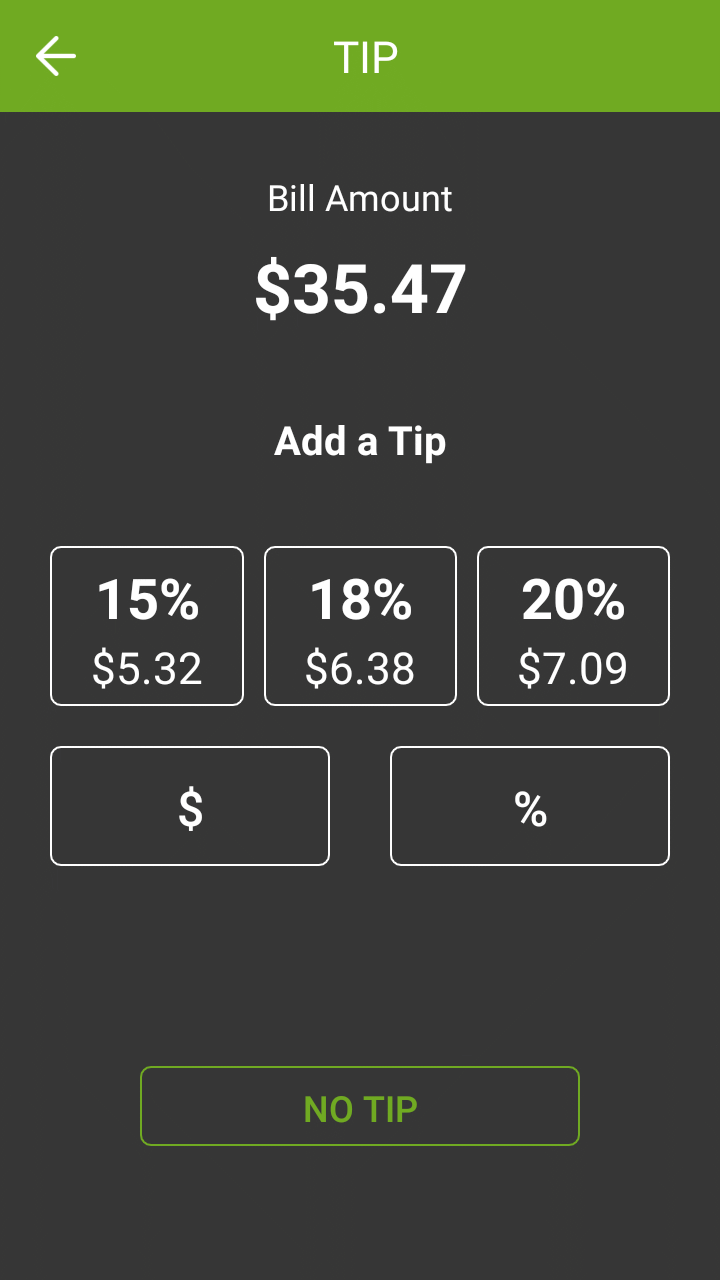
Being specifically designed for fine dining and delivery transactions, tip management is an integral part of SecureTable. This section focuses on the various options available in SecureTable to facilitate tip management. Tip options are found in SecureTable's advanced settings. Here is a summary of available tip options:
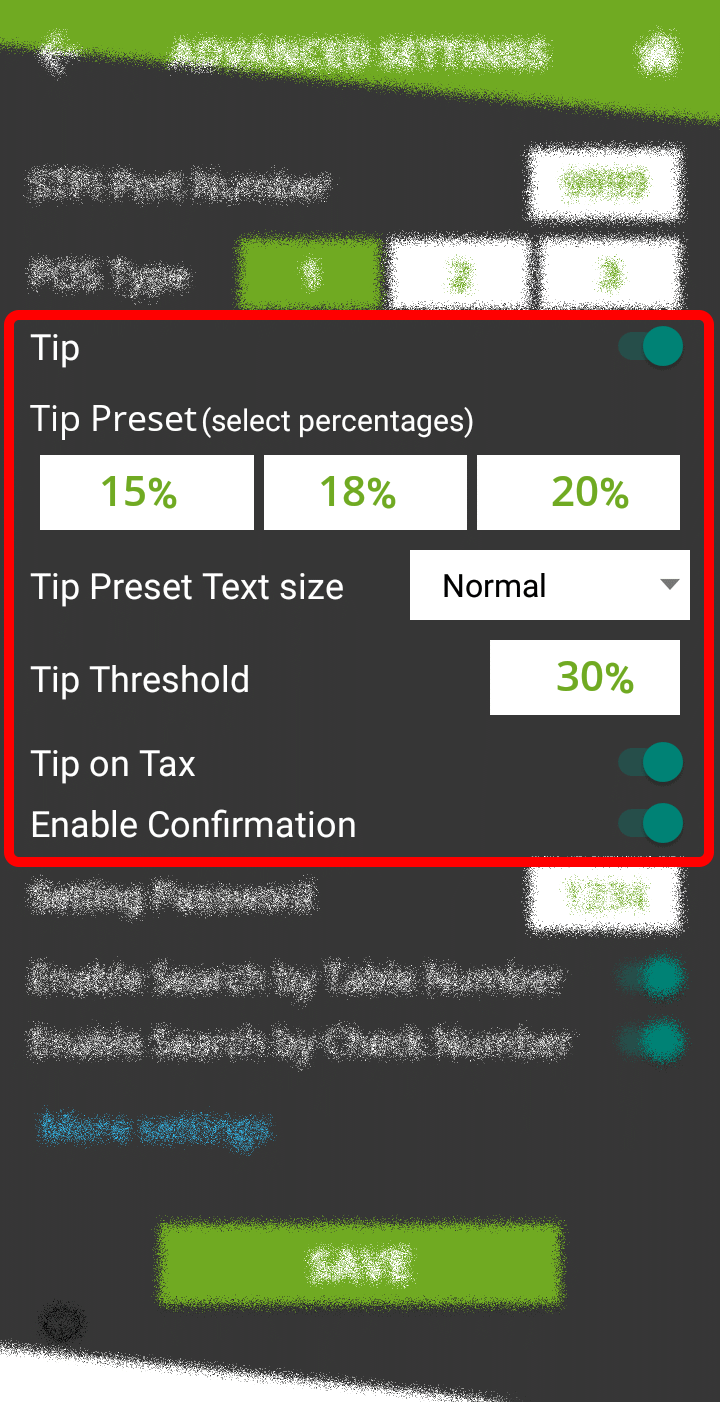
Tip
Enable this option to have the SecureTable application prompt for tip entry. Disable this option to prevent tip entry. Disabling this option will also hide all the tip-related options below.
Tip Preset (Select percentages)
Configure preset tip percentages that the customer will see when prompted for tip. Up to 3 presets can be configured. If you do not wish to use all of them, presets that are set to 0% will not be displayed to the customer.
Tip Preset Text Size
Select the text size used to display preset tip percentages. Available choices are Normal, Medium and Large.
Tip Threshold
Enter the maximum allowed tip percentage. Any tip amount that exceeds this percentage will require the settings password to be entered. Setting the percentage to 0% disables the tip threshold validation.
Tip on Tax
Enable this option to calculate the tip percentage from the total check amount, including taxes. If this option is disabled, the tip amount will be calculated on the sub-total instead, which does not include taxes.
NOTE: For the Tip on Tax feature to have an effect, the POS system needs to send both the sub-total and check total as separate values to the STPIClient. If the POS system only sends the check total without the sub-total, this setting will have no effect. The percentage will be calculated on the check total sent by the POS, regardless of the status of this option.
Enable Confirmation
Enable this option to present a dedicated tip confirmation screen for the customer. If this option is disabled, the tip confirmation screen will be skipped when selecting a tip preset or the NO TIP option. If using custom $ or custom % with this option disabled, the tip amount, percentages and resulting totals will be updated in real-time as the customer types the numbers in, but no additional confirmation screen will be presented before the actual payment.
Tip Presets
Tip presets are used to simplify and speed up the tipping process by allowing customers to select between pre-calculated tip percentages that are commonly used. Any percentage can be configured, but they need to be realistic for the market in which the terminal is used.
• Up to 3 tip presets can be configured.
• Presets configured at 0% are not displayed.
•The space used by each preset button is automatically adjusted to fit the width of the screen, as demonstrated in screenshots below.
One tip preset


Two tip presets

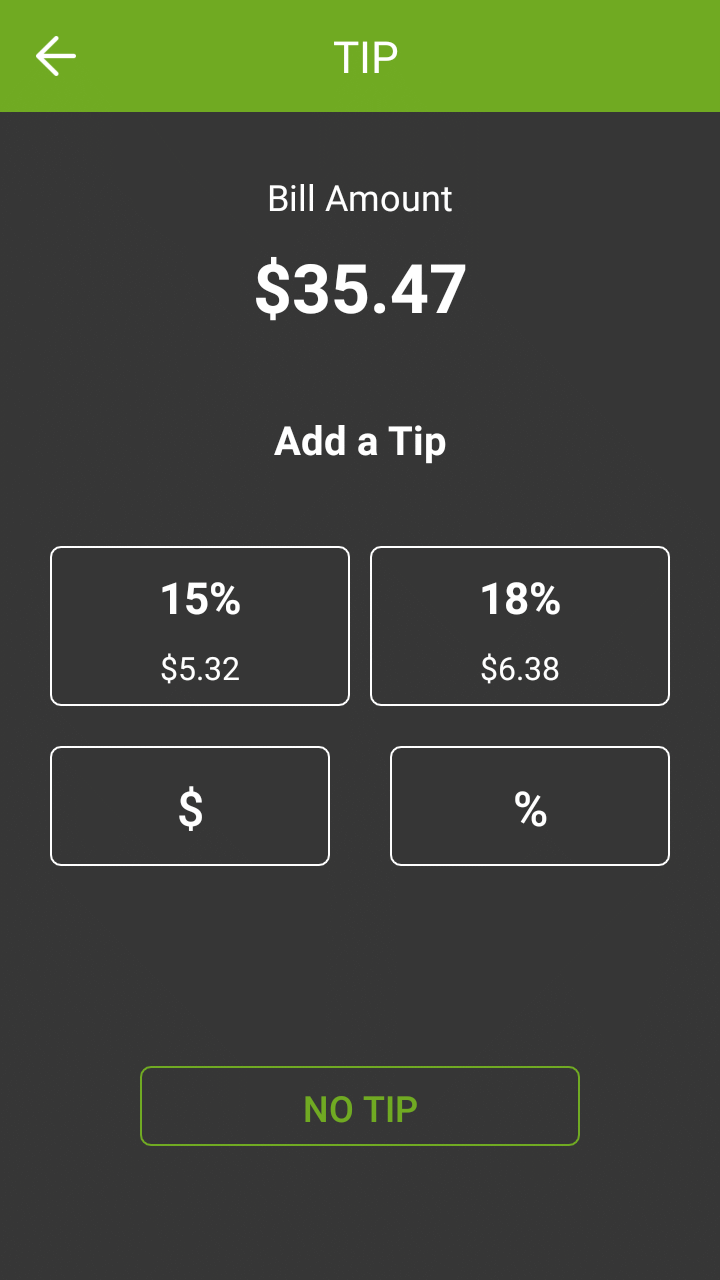
Three tip presets

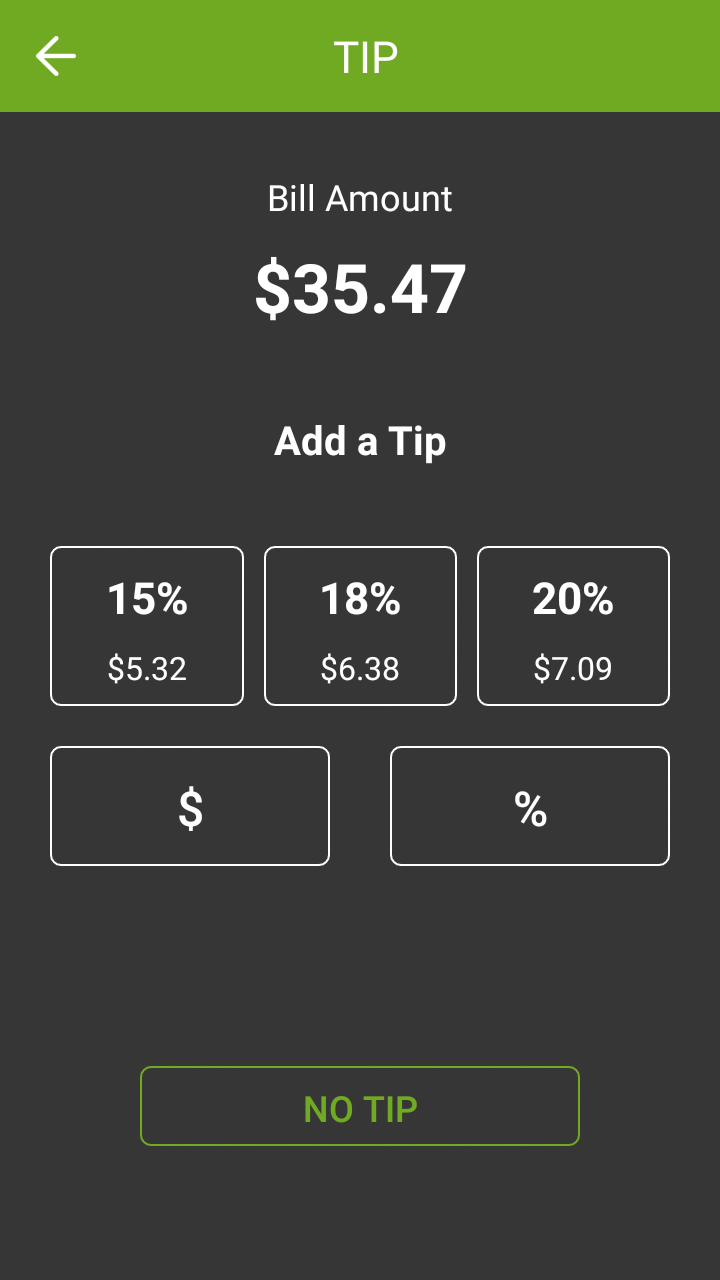
No tip presets


Tip Preset Text Size
The Tip Preset Text Size drop-down allows you to change the font size used to display percentages and amounts in each tip preset. The screenshots below illustrate each available size.
Normal
Medium 
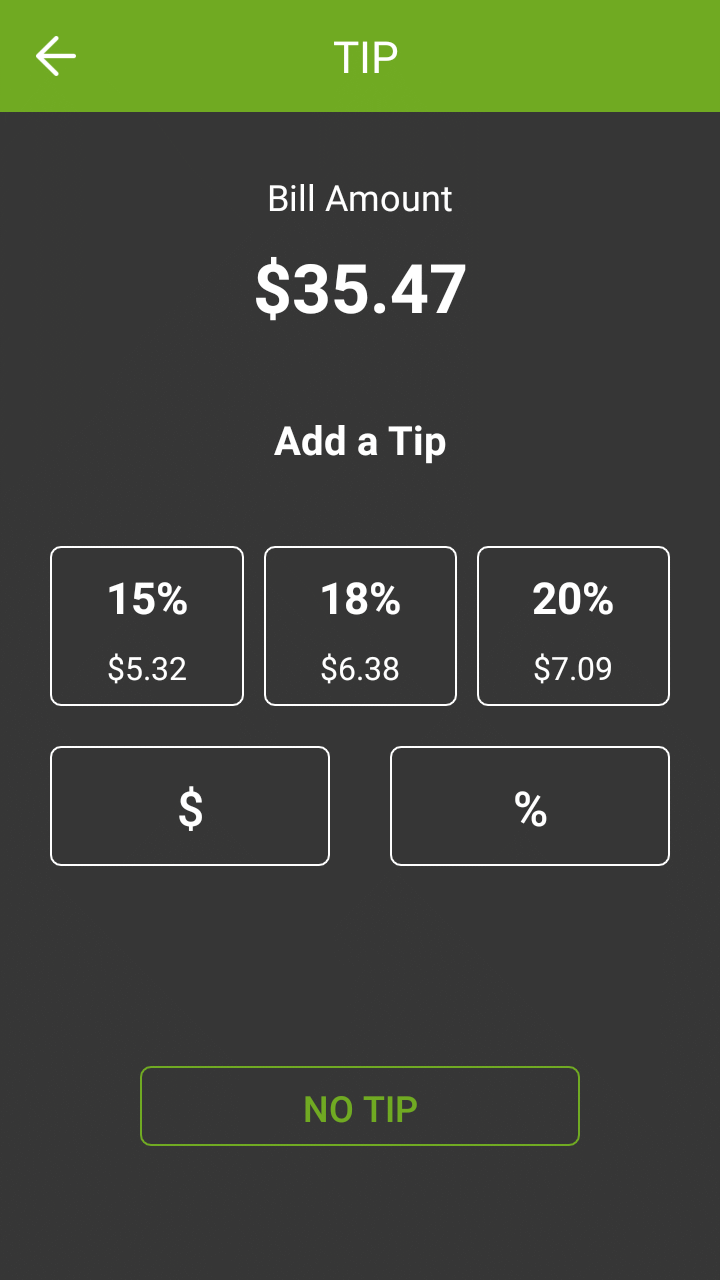
Large
Tip Threshold
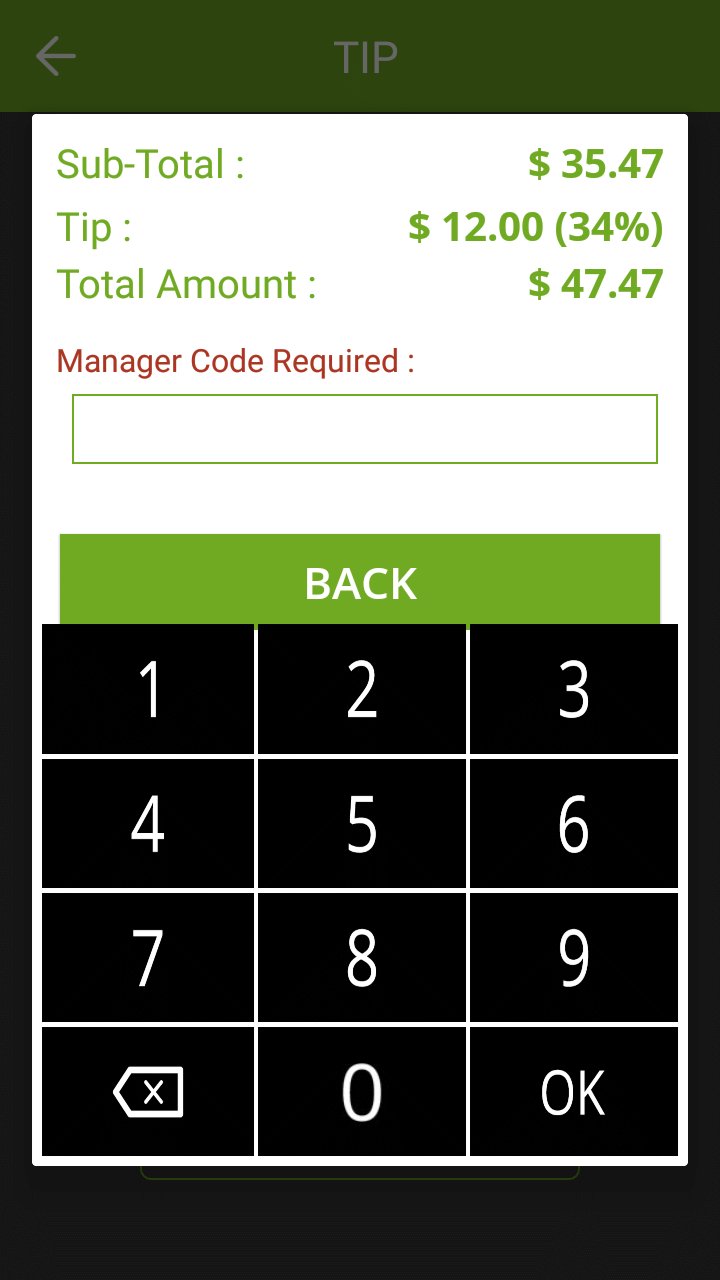
The Tip Threshold is a control measure to prevent accidental over-tipping. If the tip amount exceeds the set threshold, SecureTable will request the administrator password before applying the tip.
IMPORTANT! Be sure to carefully evaluate how tips work in the establishment before setting this value. With low value items, the threshold percentage can be exceeded very quickly. For example, buying a water bottle for $2.00 and leaving $1.00 as a tip is already 50% in tip value.
Tip amount is higher than 30% threshold Manager code is requested after touching the CONFIRM button


Tip Confirmation
The tip confirmation screen is an extra step which allows the customer to review the details of the payment in a clear, minimalist display, without any other distractions on the terminal screen.
Tip confirmation enabled
With the tip confirmation option enabled, the customer is presented with the detailed calculation of the tip. This screen also allows the customer to quickly back track and make corrections using the Back ( ) button.
Add tip Confirmation screen


Payment

Tip confirmation disabled
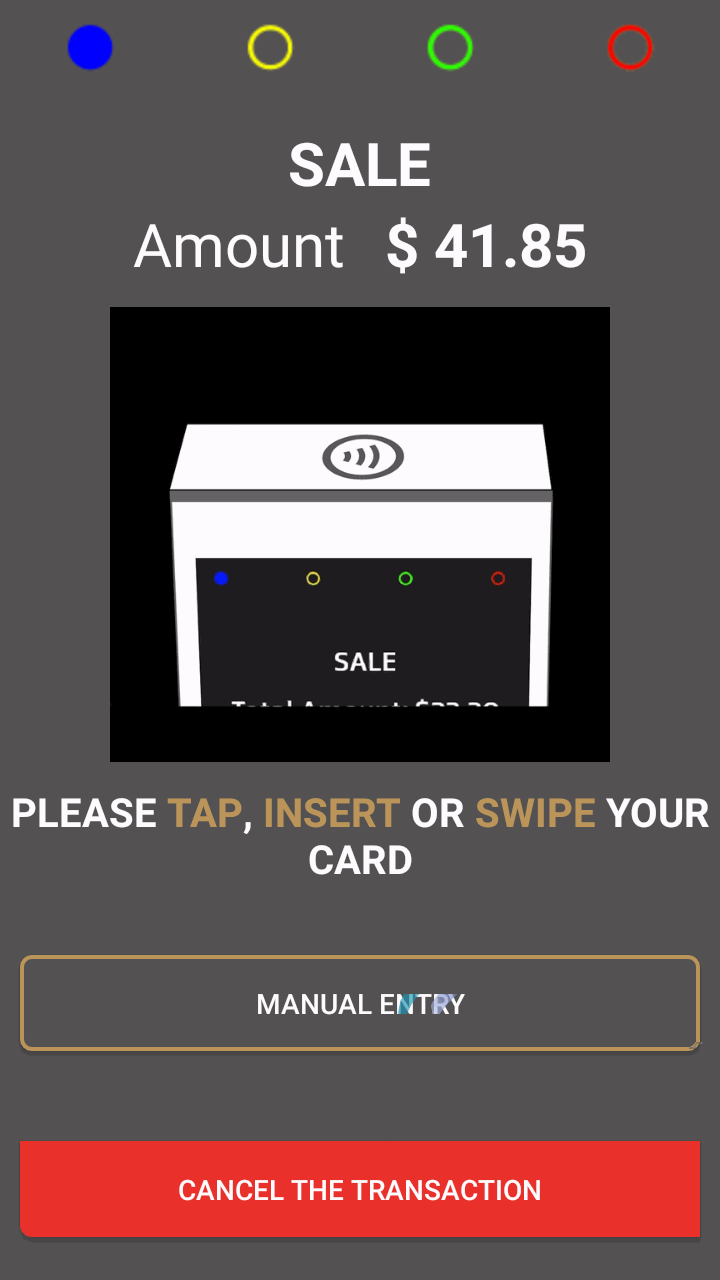
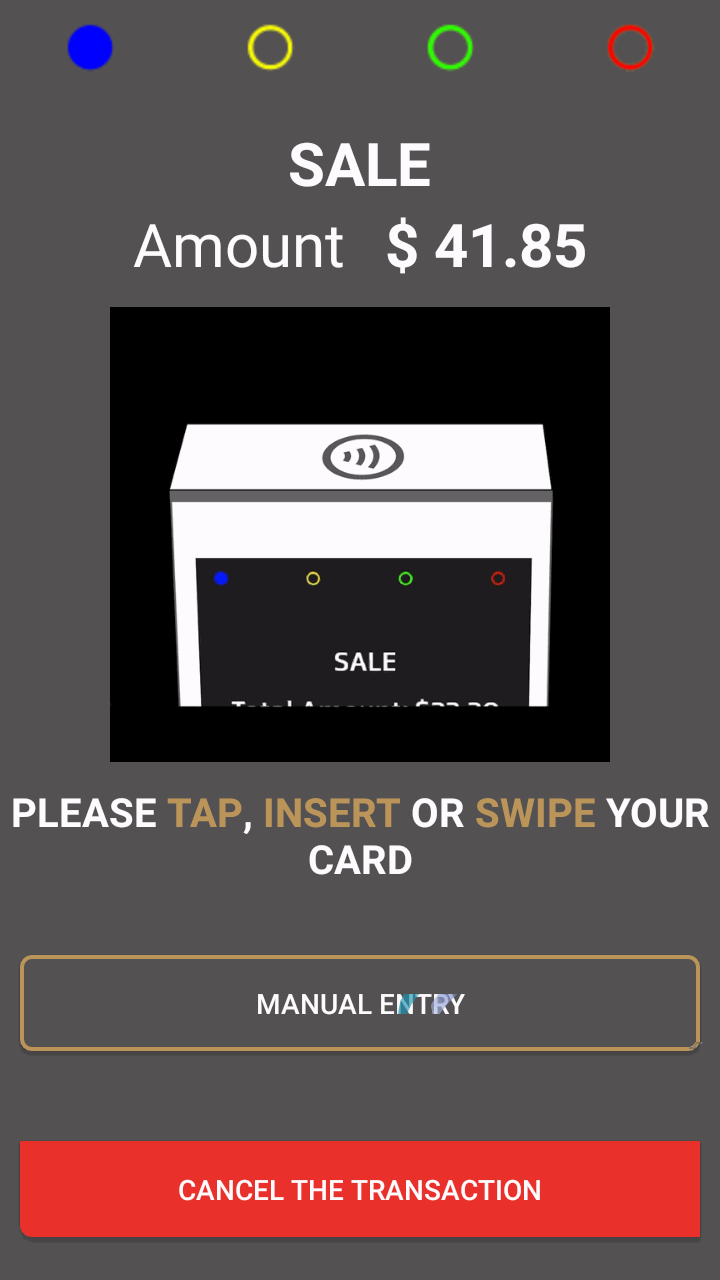
If tip confirmation is disabled, the confirmation screen is skipped and the terminal proceeds directly to the payment. If the customer notices a mistake once the payment process is started, the transaction needs to be canceled at the payment application which will bring the customer back to the tip calculation screen.
Add tip Payment


For more details and to quickly see the difference between various configurations, consult the workflows below:
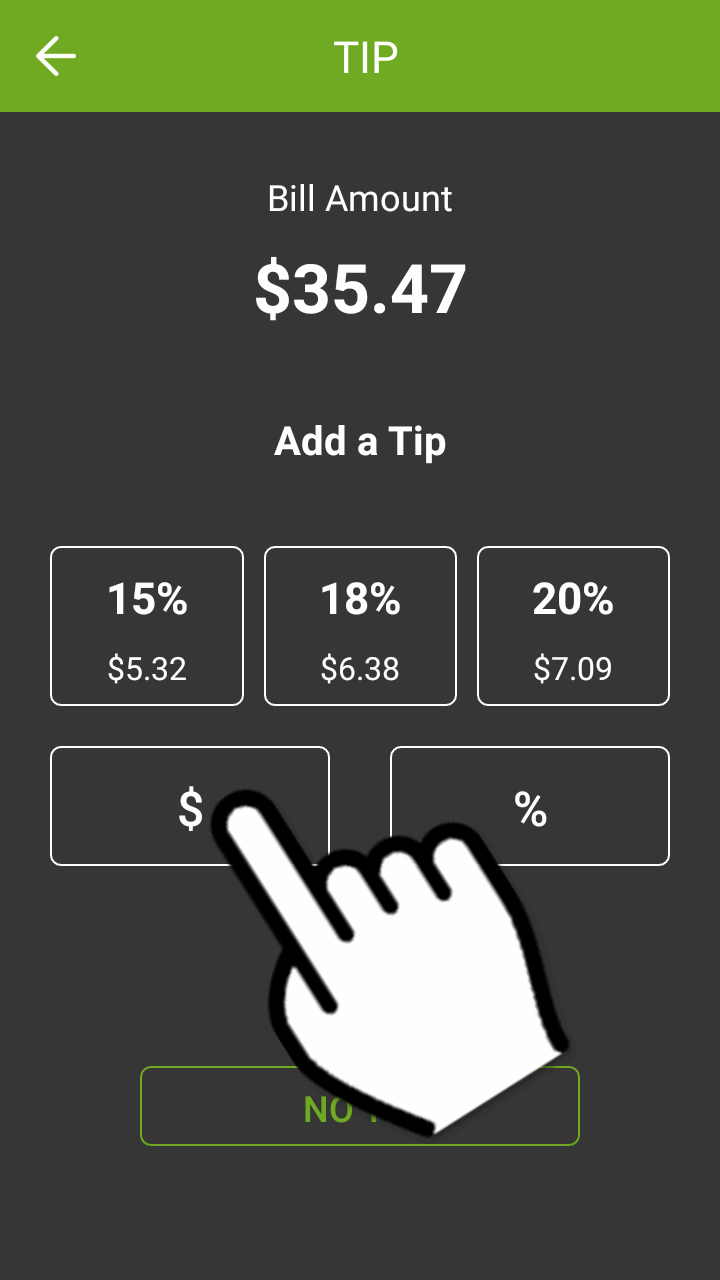
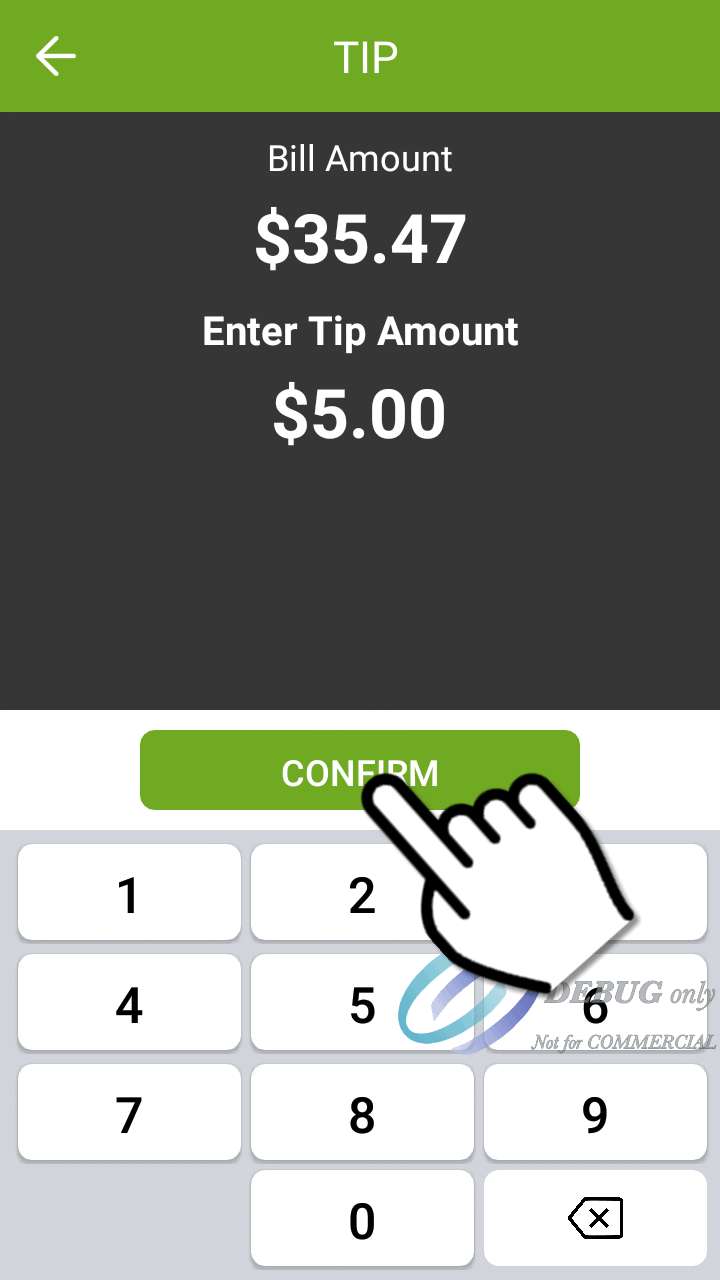
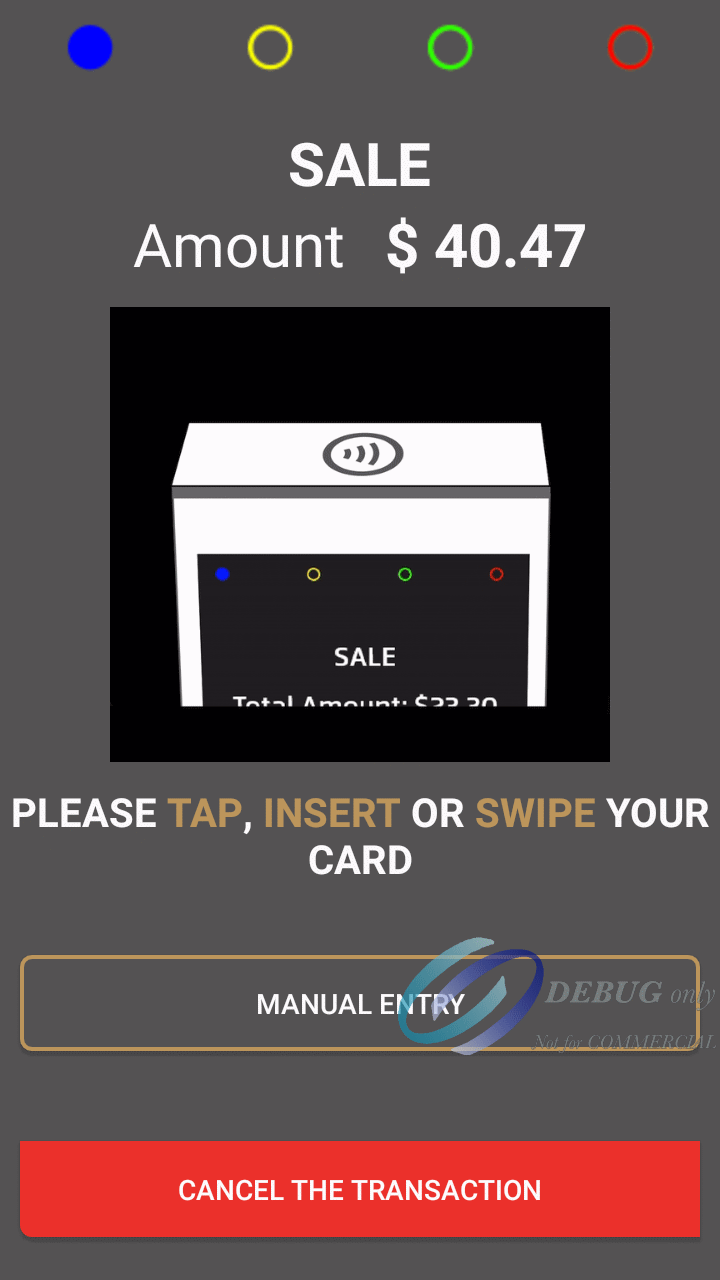
Using custom tip amount with tip confirmation enabled
This workflow shows the screens that the customer will go through while applying a tip using a custom amount and with tip confirmation enabled.
Select custom $ Enter amount


Confirm Confirmation screen


Payment
For more details and to quickly see the difference between various configurations, consult the workflows below:
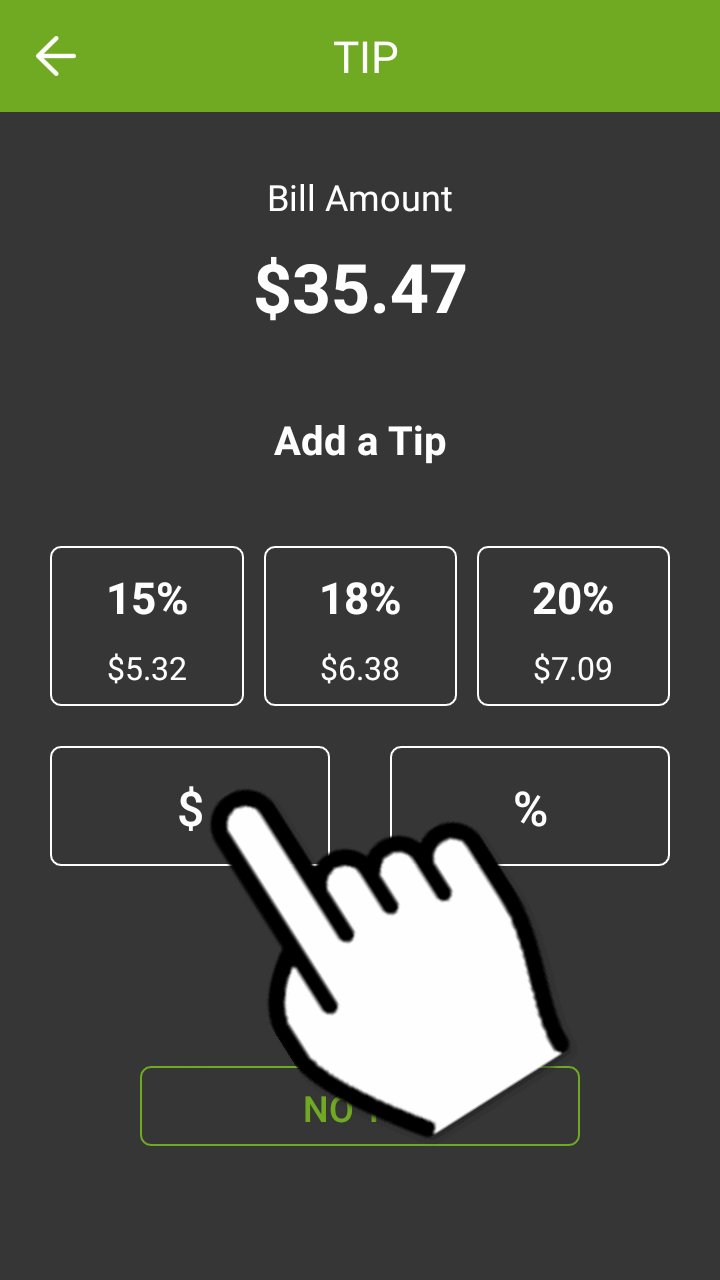
Using custom tip amount with tip confirmation enabled
This workflow shows the screens that the customer will go through while applying a tip using a custom amount and with tip confirmation enabled.
Select custom $ Enter amount


Confirm Confirmation screen


Payment

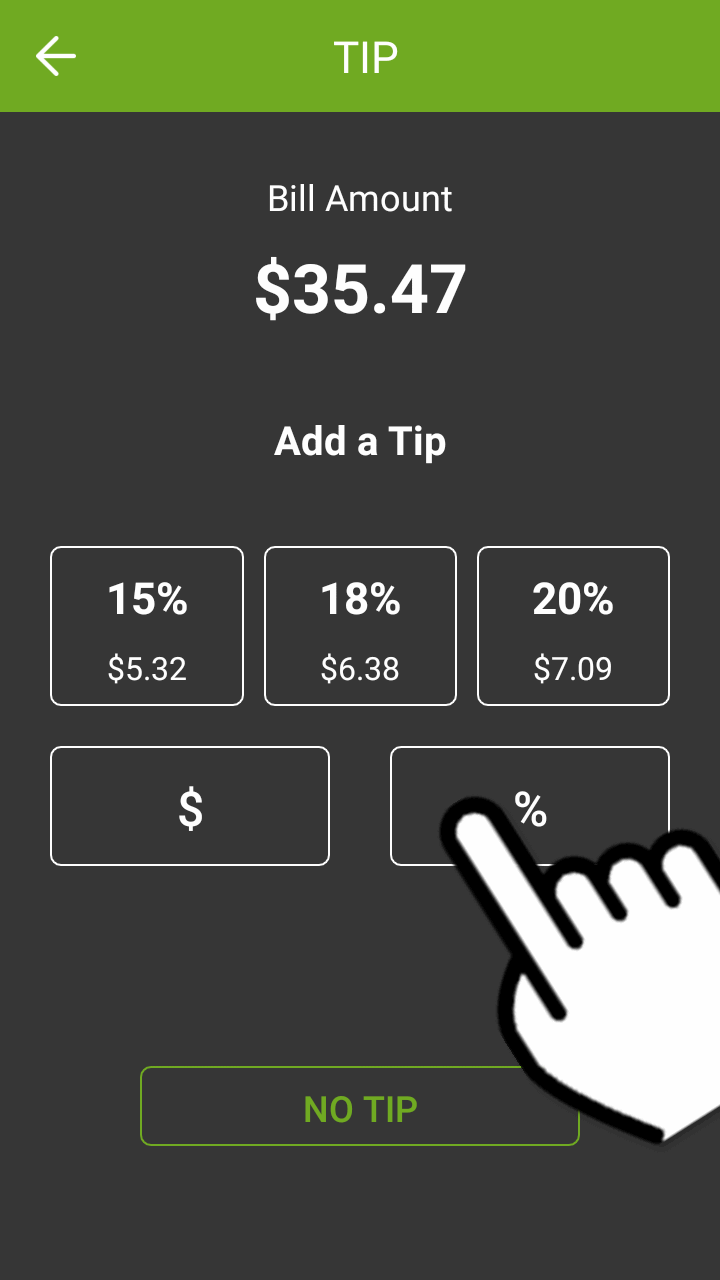
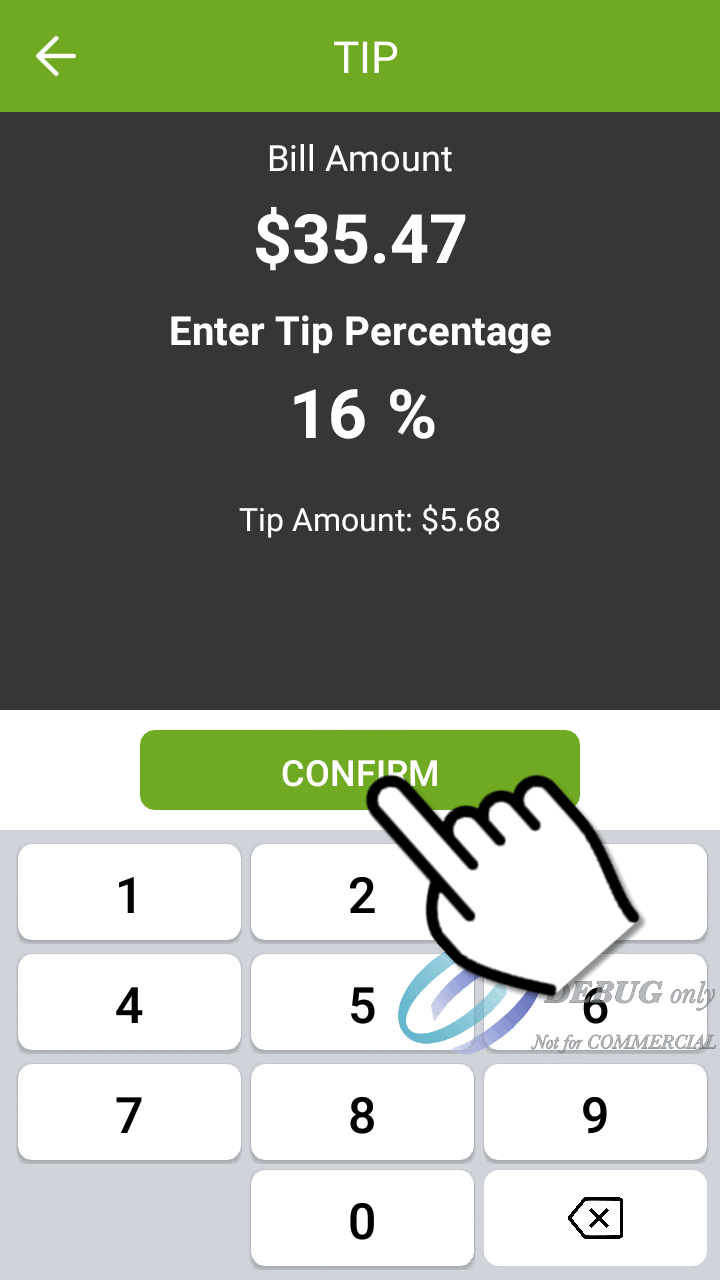
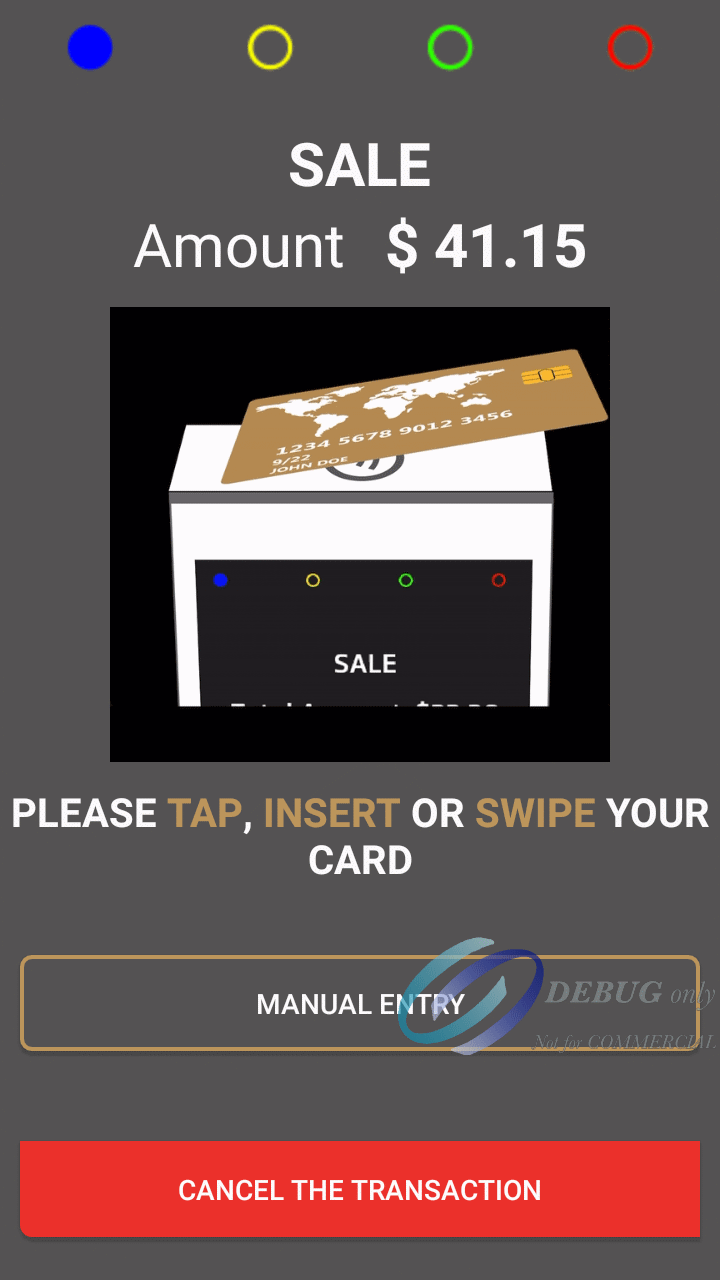
Using custom tip percentage with tip confirmation enabled
This workflow shows the screens that the customer will go through while applying a tip using a custom percentage and with tip confirmation enabled.
Select custom % Enter percentage


Confirm Confirmation screen


Payment
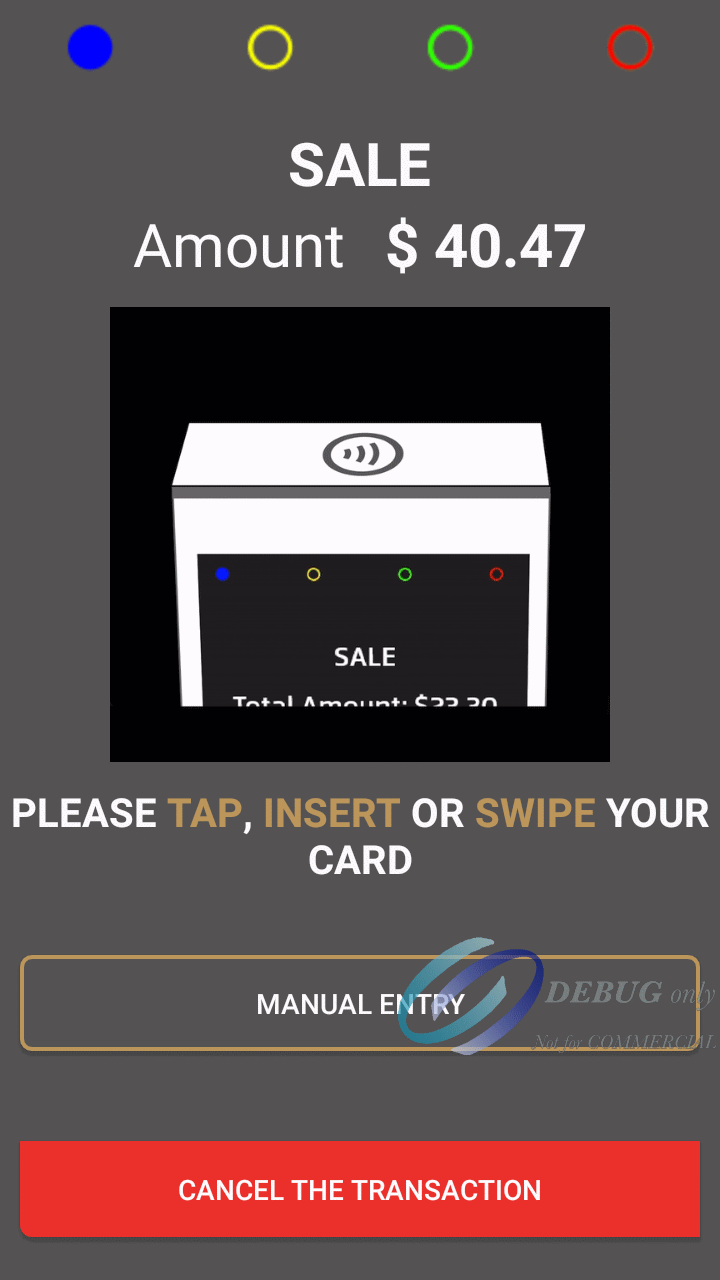
Using custom tip amount with tip confirmation disabled
This workflow shows the screens that the customer will go through while applying a tip using a custom tip amount and with tip confirmation disabled.
Select custom $ Enter amount


Confirm Payment


Using custom tip percentage with tip confirmation disabled
This workflow shows the screens that the customer will go through while applying a tip using a custom tip percentage and with tip confirmation disabled.
Select custom % Enter percentage
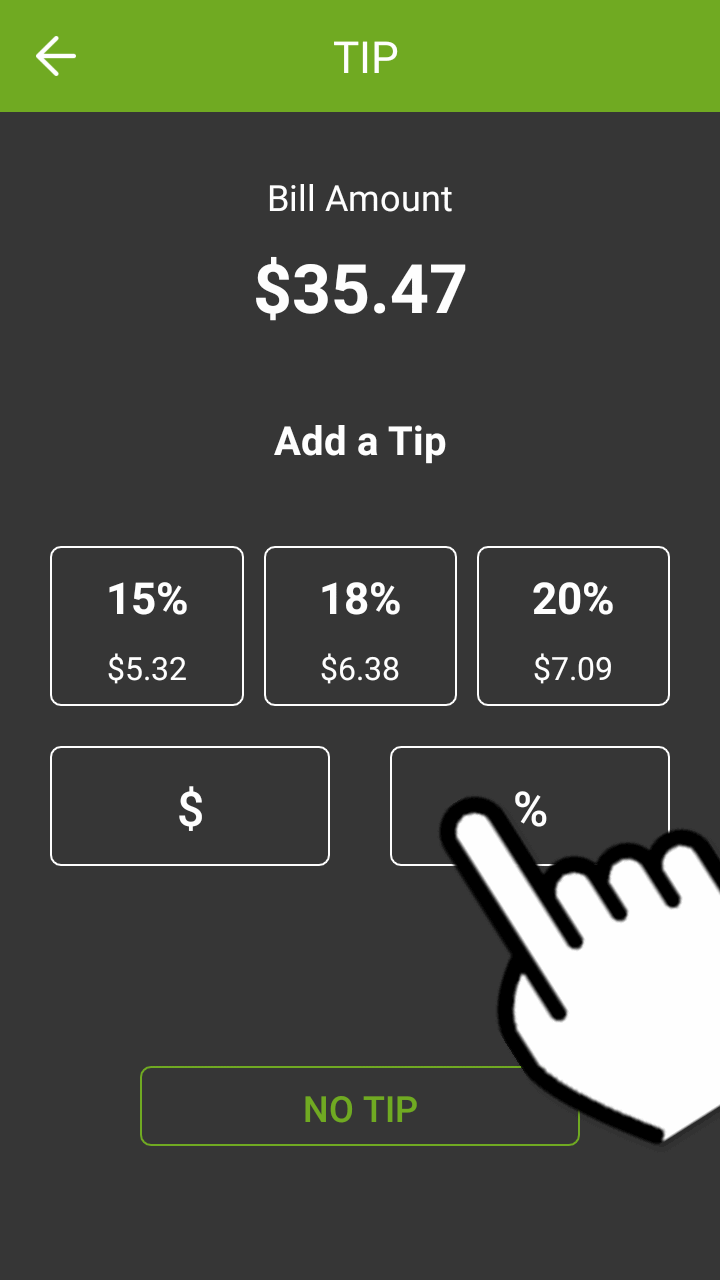


Confirm Payment


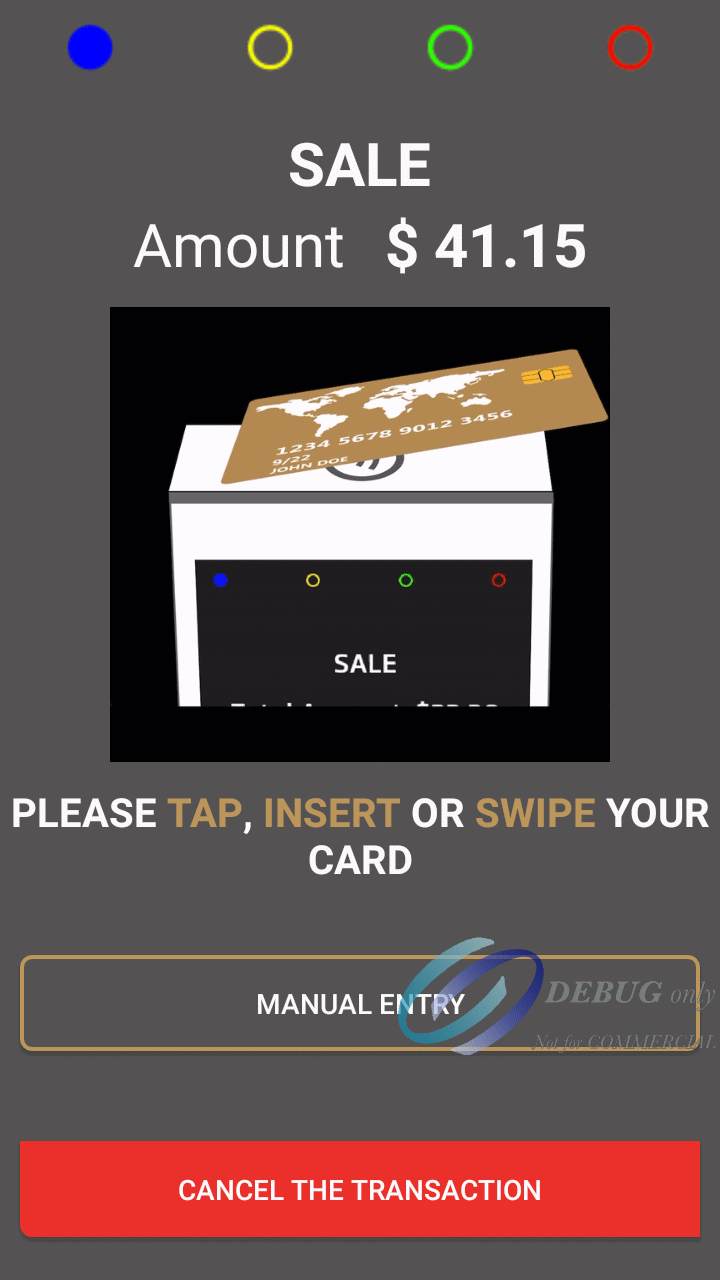
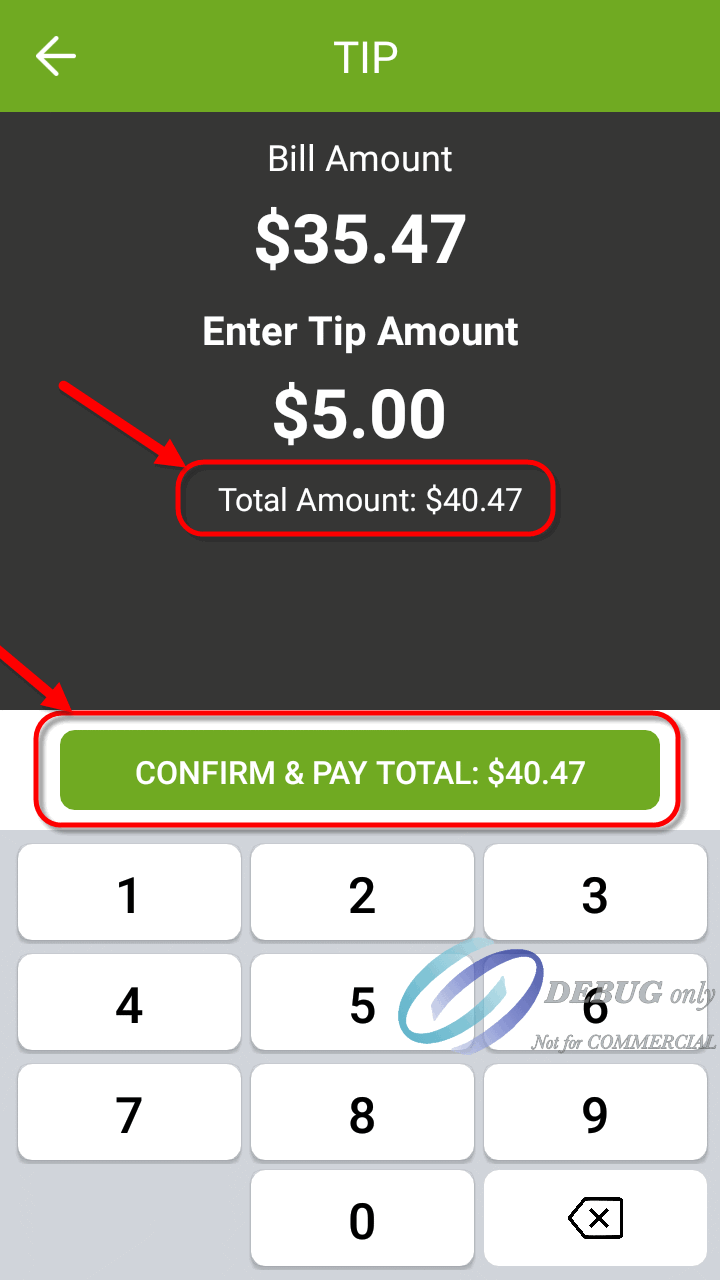
Comparison: Custom Tip Amount with confirmation enabled/disabled
The screenshots below illustrate the differences in the custom tip amount screen when tip confirmation is enabled or disabled. Notice how the screen with confirmation disabled shows more information. This is to compensate for the absence of the dedicated confirmation screen.
Confirmation Enabled Confirmation Disabled

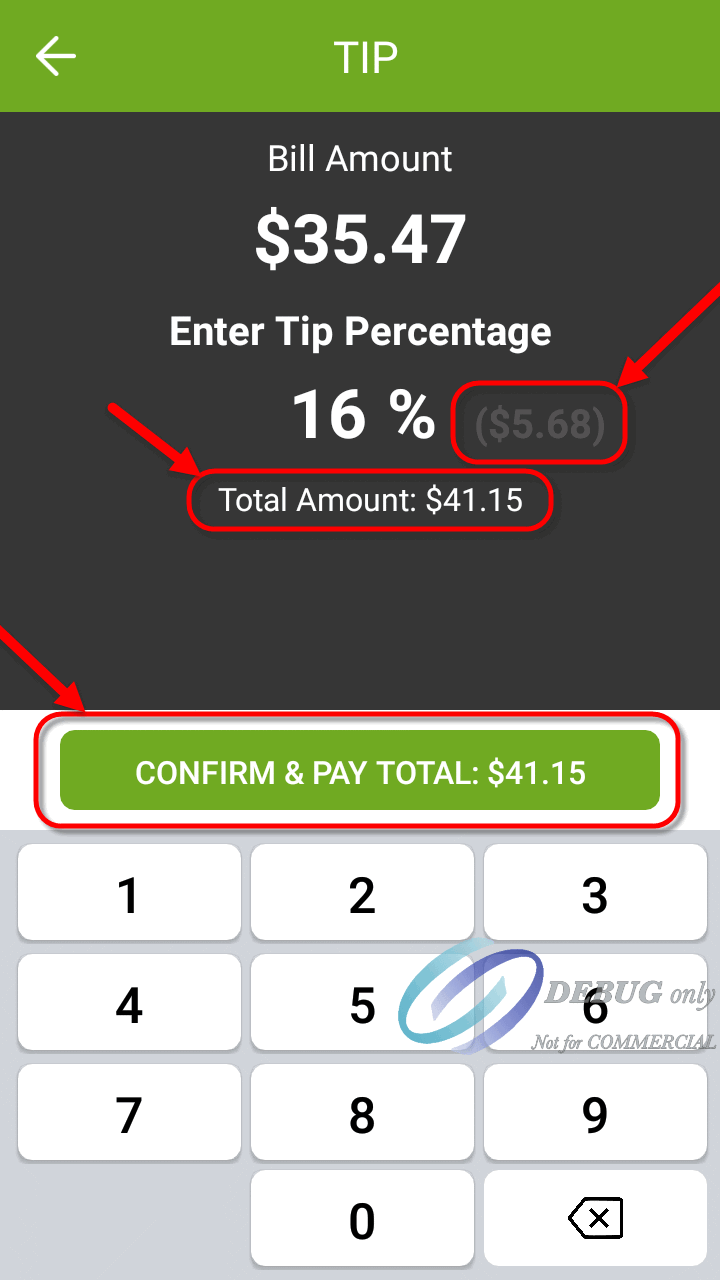
Comparison: Custom Tip Percentage with confirmation enabled/disabled
The screenshots below illustrate the differences in the custom tip percentage screen when tip confirmation is enabled or disabled. Notice how the screen with confirmation disabled shows more information. This is to compensate for the absence of the dedicated confirmation screen.
Confirmation Enabled Confirmation Disabled

Was this helpful?

