Initial Terminal Configuration
Initial Terminal Configuration
Charging the Terminal
Installing the Printer Paper
To install the printer paper:
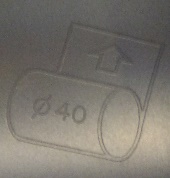 Place the roll of printer paper in the paper tray, leaving about 2 inches (5 cm) of paper beyond the printer's cutter.
Configuring the Terminal Network Connections
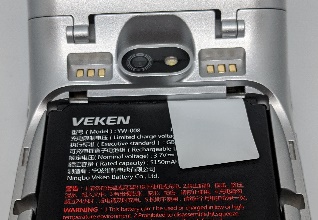
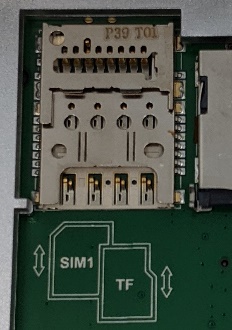
Installing the SIM Card
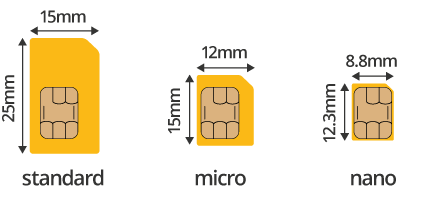
To install the mobile SIM card:
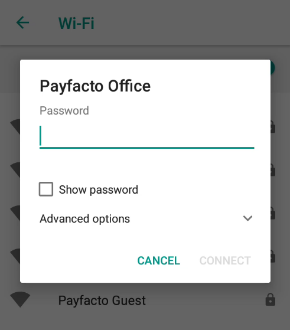
Configuring the Terminal Wi-Fi Connection
To connect to your wireless network:
On the terminal’s main screen, touch the Settings icon.

Touch the checkmark icon on the keypad when you are done and touch OK.

After the terminal displays Connected for the selected network, touch the Back icon to return to the Network & Internet page.

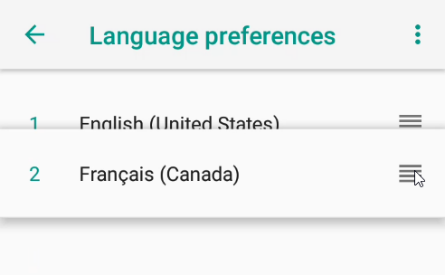
Configuring the Terminal Display Language
To change the terminal display language:
On the terminal’s main screen, touch the Settings icon.
Touch the checkmark icon on the keypad when you are done and touch OK.
Last updated
Was this helpful?