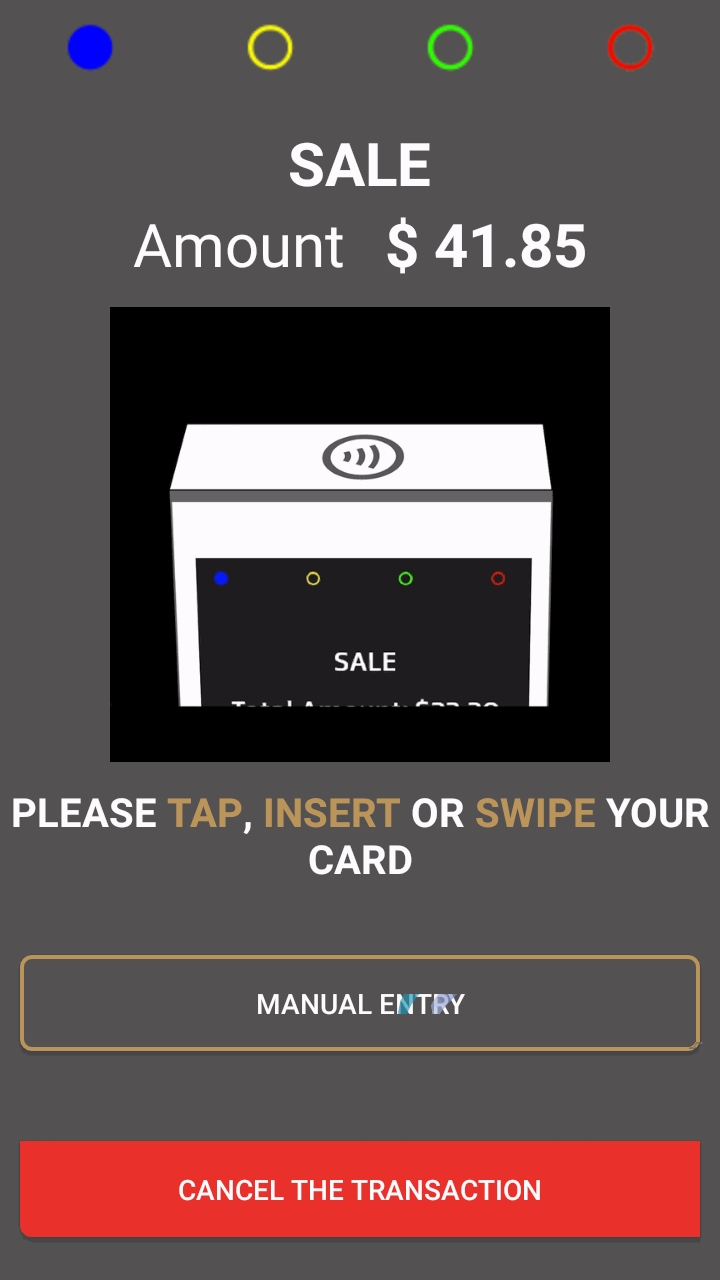
Being specifically designed with the Hospitality industry in mind, tip management is an integral part of SecurePay. This section focuses on the various options available in SecurePay to facilitate tip management.
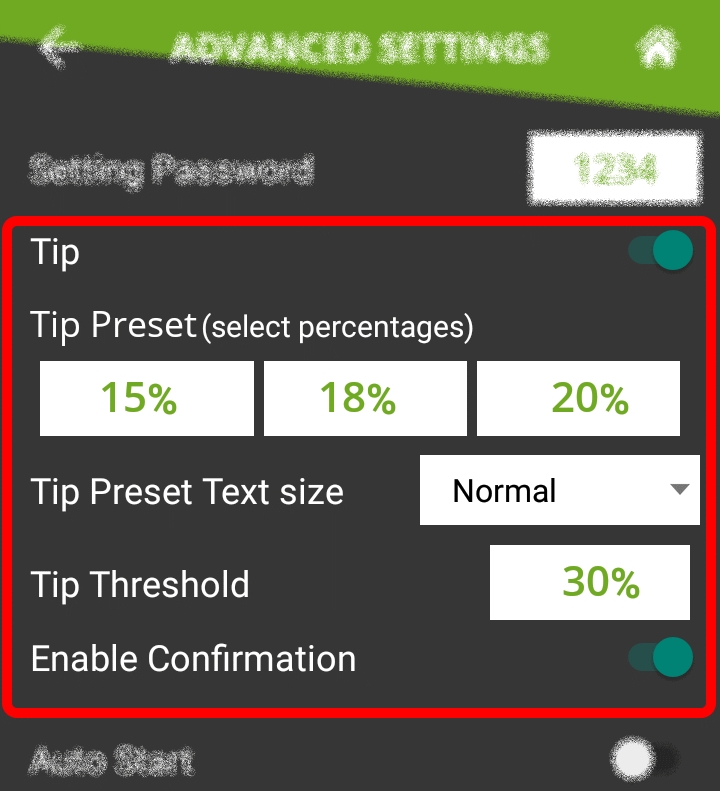
Tip options are found in SecurePay's advanced settings. Here is a summary of available tip options:
Tip
Enable this option to have the SecurePay application prompt for tip entry. Disable this option to prevent tip entry. Disabling this option will also hide all the tip-related options below.
Tip Preset (Select percentages)
Configure preset tip percentages that the customer will see when prompted for tip. Up to 3 presets can be configured. If you do not wish to use all of them, presets that are set to 0% will not be displayed to the customer.
Tip Preset Text Size
Select the text size used to display preset tip percentages. Available choices are Normal, Medium and Large.
Tip Threshold
Enter the maximum allowed tip percentage. Any tip amount that exceeds this percentage will require the settings password to be entered. Setting the percentage to 0% disables the tip threshold validation.
Enable Confirmation
Enable this option to present a dedicated tip confirmation screen for the customer. If this option is disabled, the tip confirmation screen will be skipped when selecting a tip preset or the NO TIP option. If using custom $ or custom % with this option disabled, the tip amount, percentages and resulting totals will be updated in real-time as the customer types the numbers in, but no additional confirmation screen will be presented before the actual payment.
Tip presets are used to simplify and speed up the tipping process by allowing customers to select between pre-calculated tip percentages that are commonly used. Any percentage can be configured, but they need to be realistic for the market in which the terminal is used.
Up to 3 tip presets can be configured.
Presets configured at 0% are not displayed.
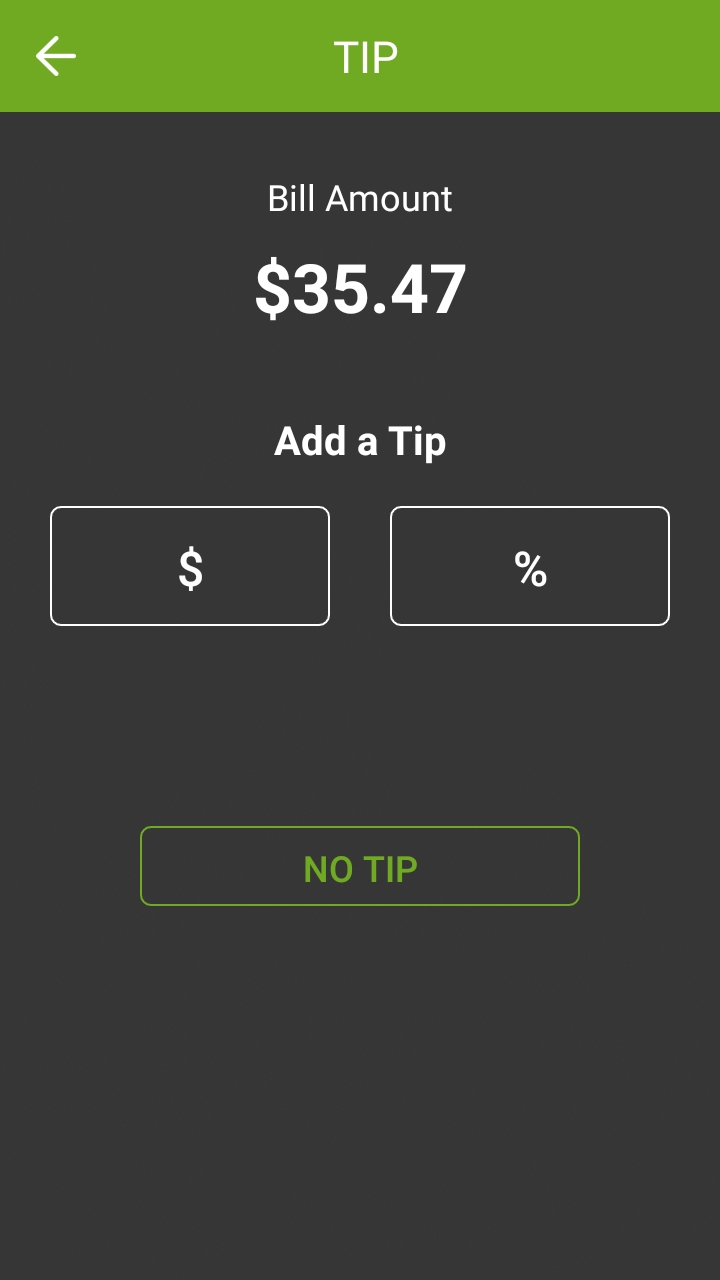
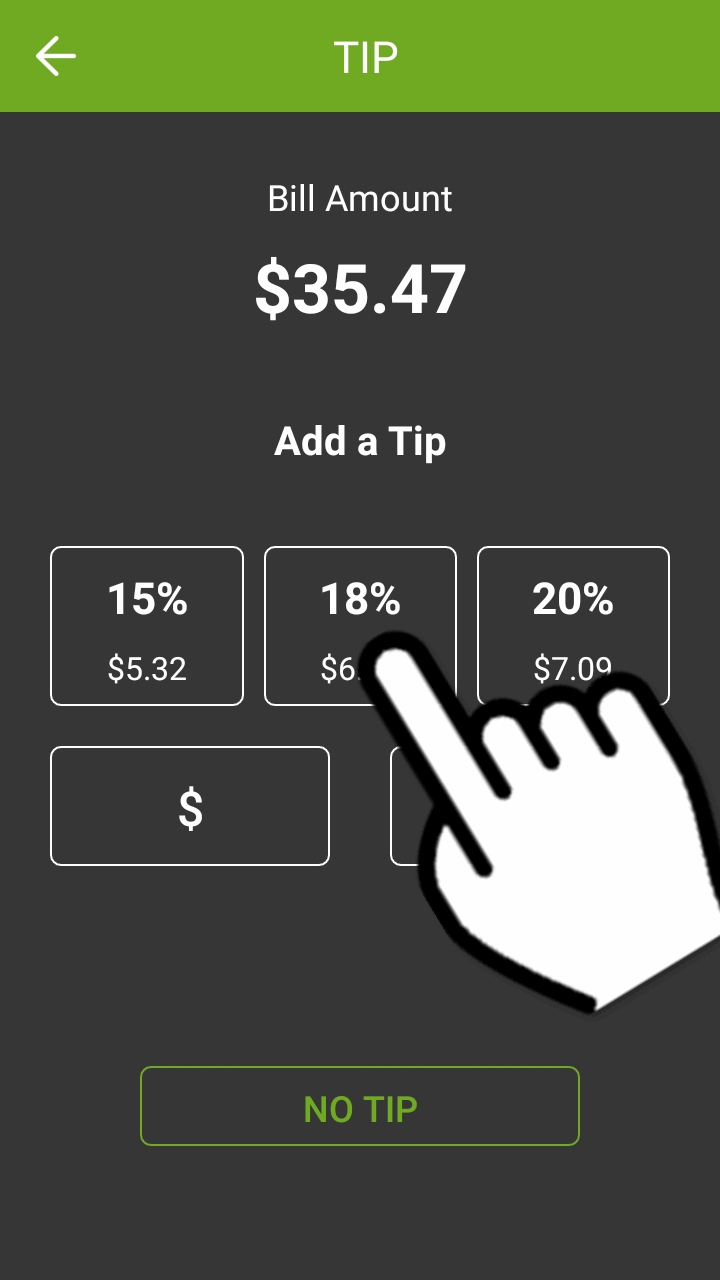
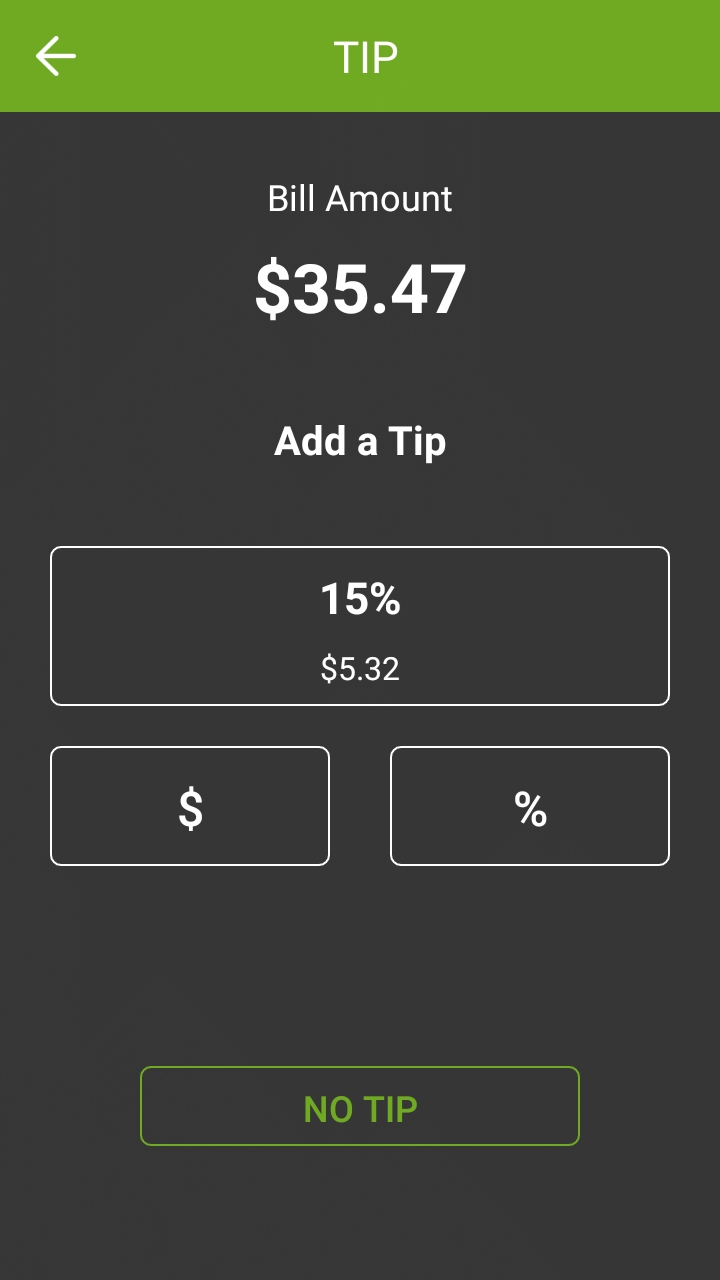
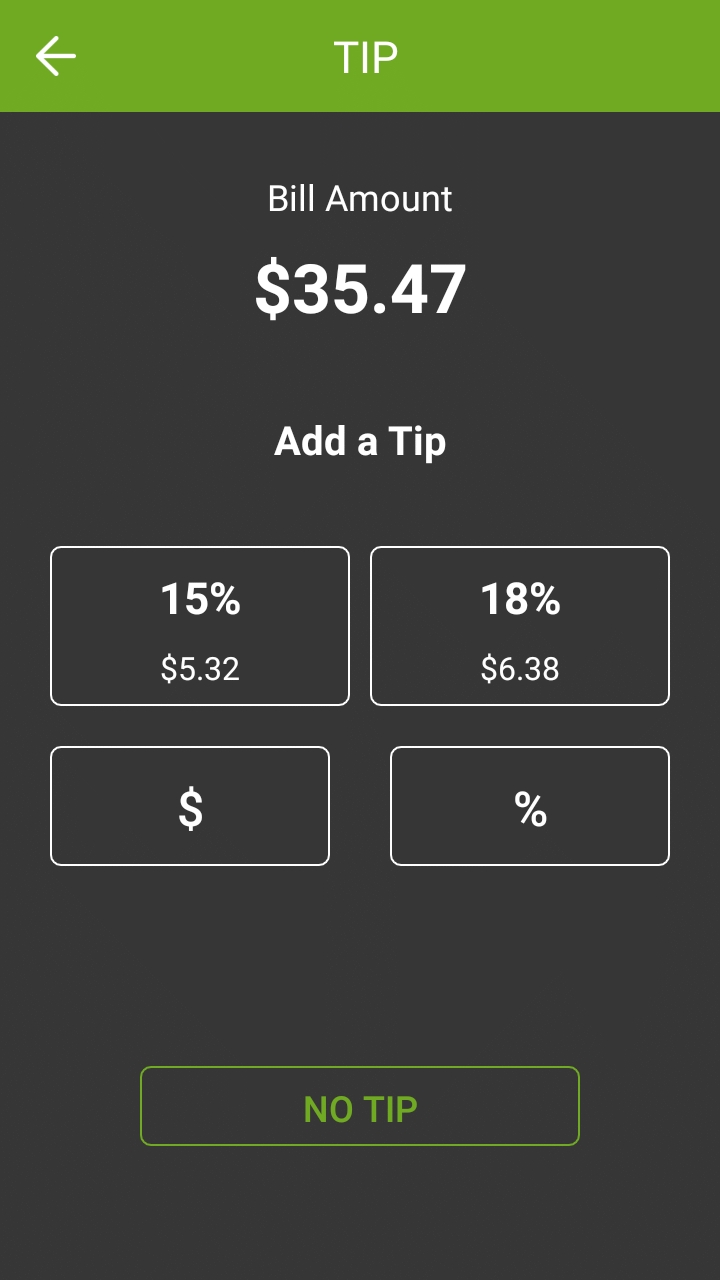
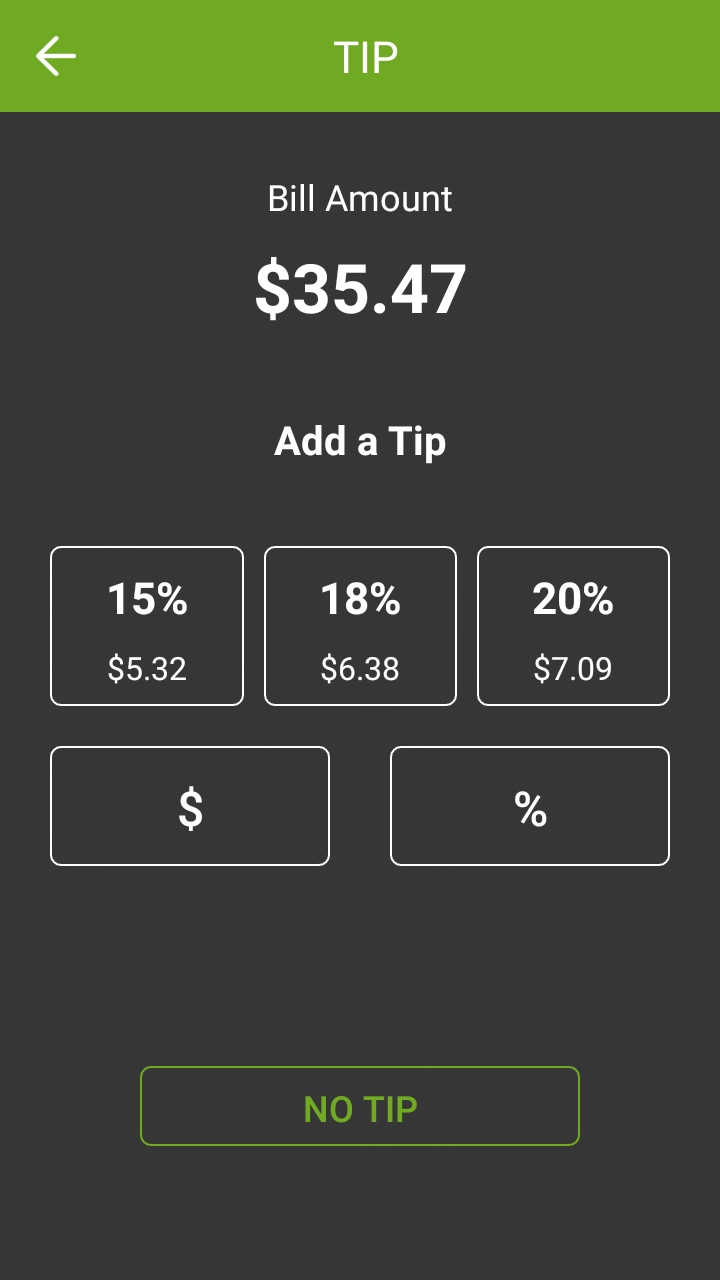
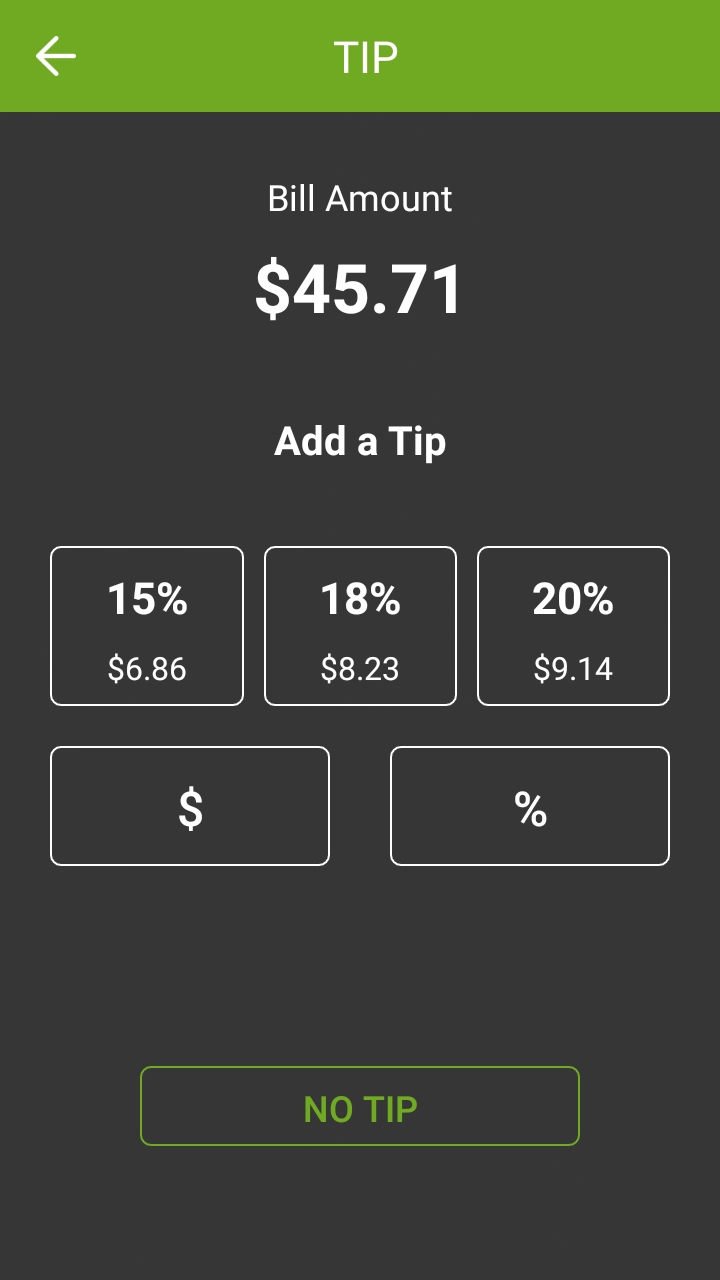
The space used by each preset button is automatically adjusted to fit the width of the screen, as demonstrated in screenshots below.
One tip preset Two tip presets
Three tip presets No tip presets
The Tip Preset Text Size drop-down allows you to change the font size used to display percentages and amounts in each tip preset. The screenshots below illustrate each available size.
Normal
Medium
Large
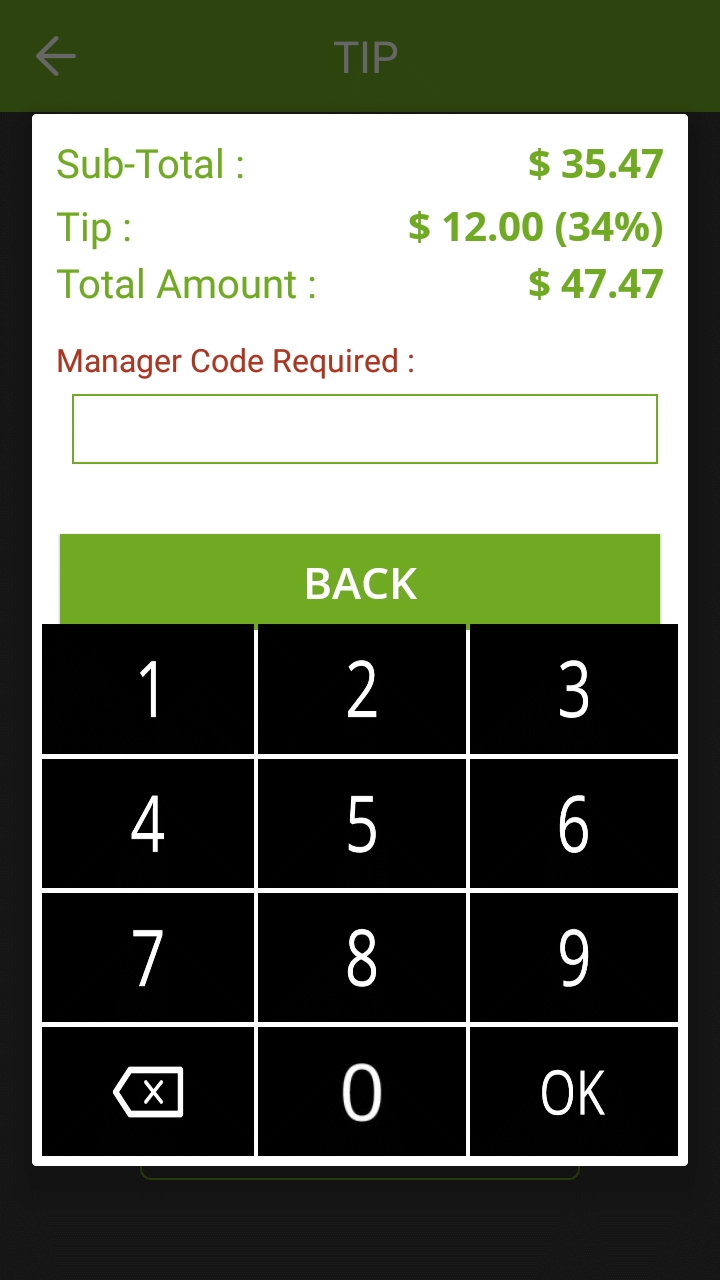
The Tip Threshold is a control measure to prevent accidental over-tipping. If the tip amount exceeds the set threshold, SecurePay will request the administrator password before applying the tip.
IMPORTANT! Be sure to carefully evaluate how tips work in the establishment before setting this value. With low value items, the threshold percentage can be exceeded very quickly. For example, buying a water bottle for $2.00 and leaving $1.00 as a tip is already 50% in tip value.
Tip amount is higher than 30% threshold
Manager code is requested after touching the CONFIRM button
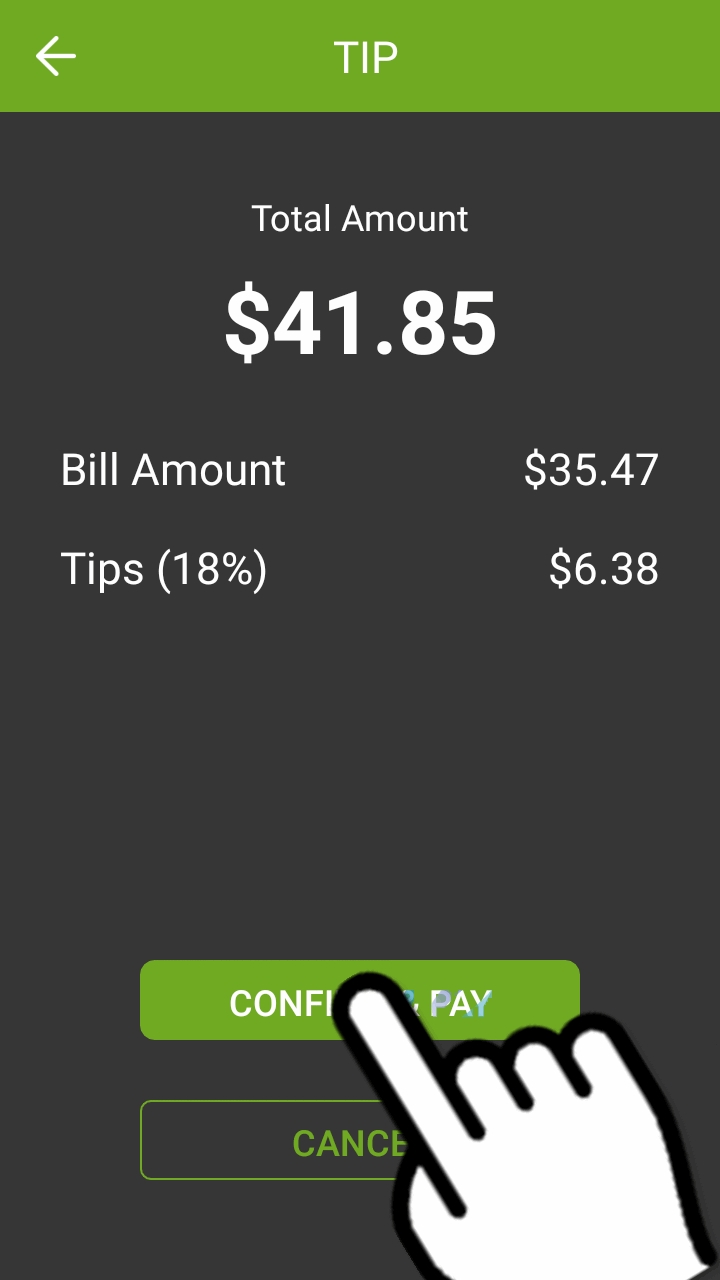
The tip confirmation screen is an extra step which allows the customer to review the details of the payment in a clear, minimalist display, without any other distractions on the terminal screen.
With the tip confirmation option enabled, the customer is presented with the detailed calculation of the tip. This screen also allows the customer to quickly back track and make corrections using the Back ( ) button.
Add tip
Confirmation screen
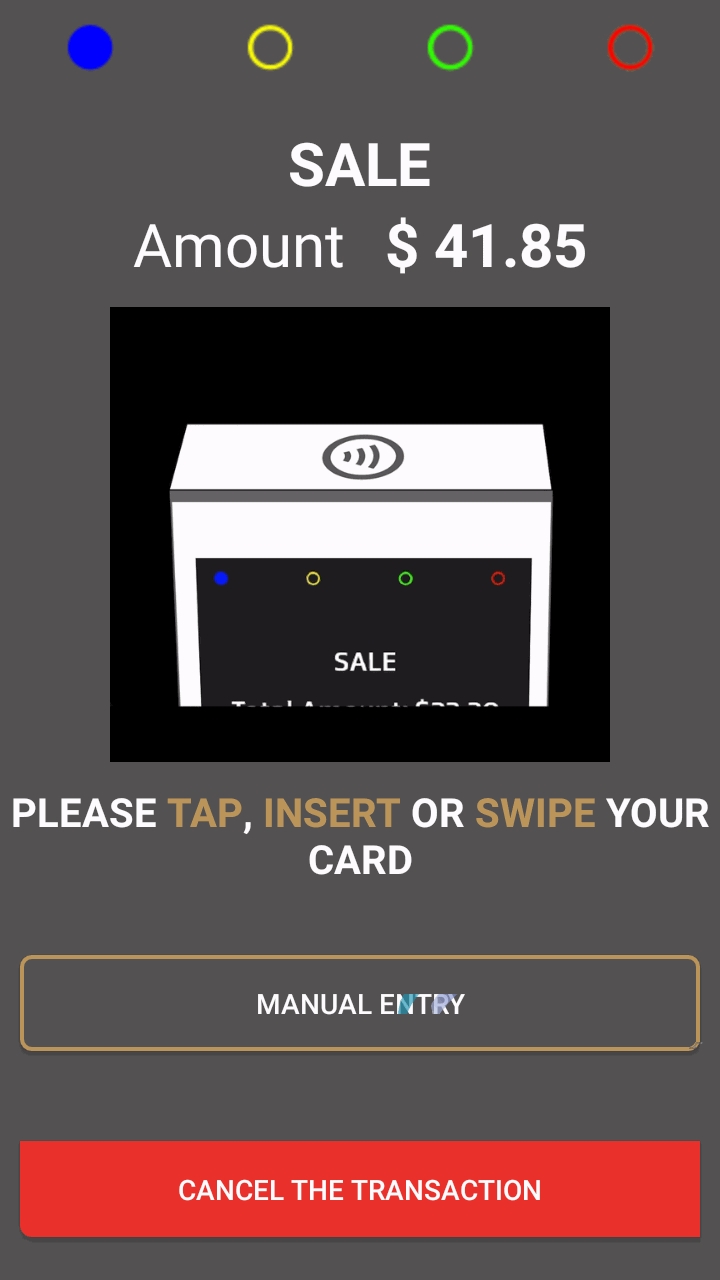
Payment
If tip confirmation is disabled, the confirmation screen is skipped and the terminal proceeds directly to the payment. If the customer notices a mistake once the payment process is started, the transaction needs to be canceled at the payment application which will bring the customer back to the tip calculation screen.
Add tip
Payment
For more details and to quickly see the difference between various configurations, click the drop-downs below:
Using custom tip amount with tip confirmation enabled
Using custom tip percentage with tip confirmation enabled
Using custom tip amount with tip confirmation disabled
Using custom tip percentage with tip confirmation disabled
Comparison: Custom Tip Amount with confirmation enabled/disabled
Comparison: Custom Tip Percentage with confirmation enabled/disabled


This section will cover the general workflow that users and customers will see when using SecurePay. The workflow will vary slightly based on the SecurePay application's configuration.
With SecurePay, the payment process is always initiated by the POS system. SecurePay cannot be used to initiate a payment directly at the payment terminal.
If you need assistance with the functions of your POS system, please consult the documentation specific to the POS system you are using. Generally speaking, the following operations need to be carried out at the POS before a payment can be applied:
Ring / order sales items.
Print a check.
Select a payment type.
In most POS systems, selecting the payment type that is assigned to card payments will initiate the transaction process on the payment terminal.
f the Tip option is enabled in the SecurePay application settings, the tip calculation screen will be displayed.
When the Tip calculation screen appears, the payment terminal needs to be turned towards the customer. The customer has the following options:
Select one of the pre-set percentages;
Enter a custom dollar amount;
Enter a custom percentage;
Leave no tip at all.
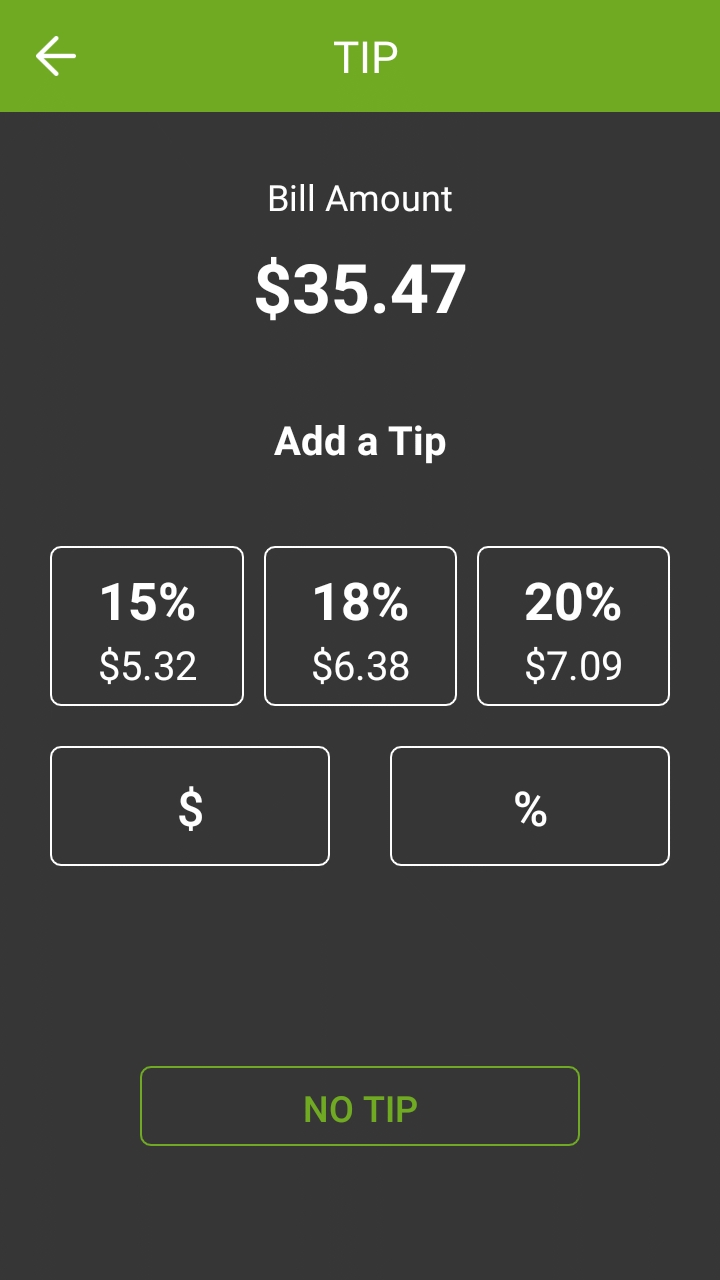
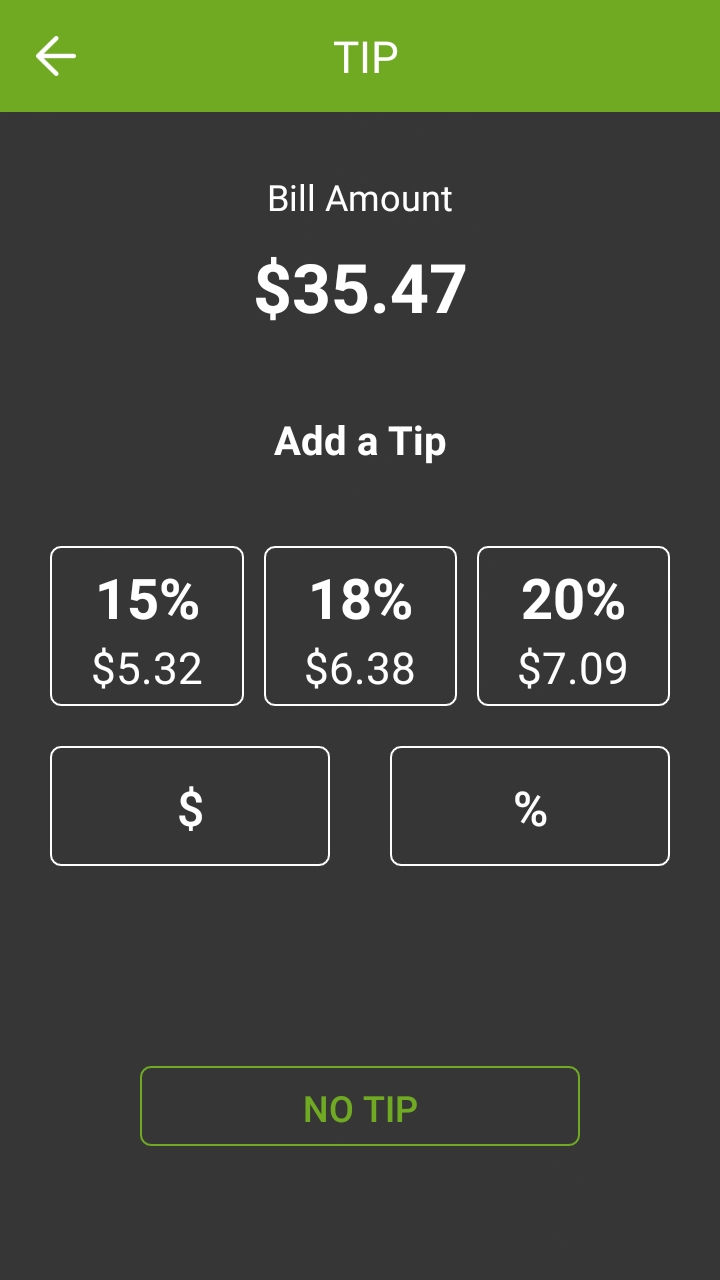
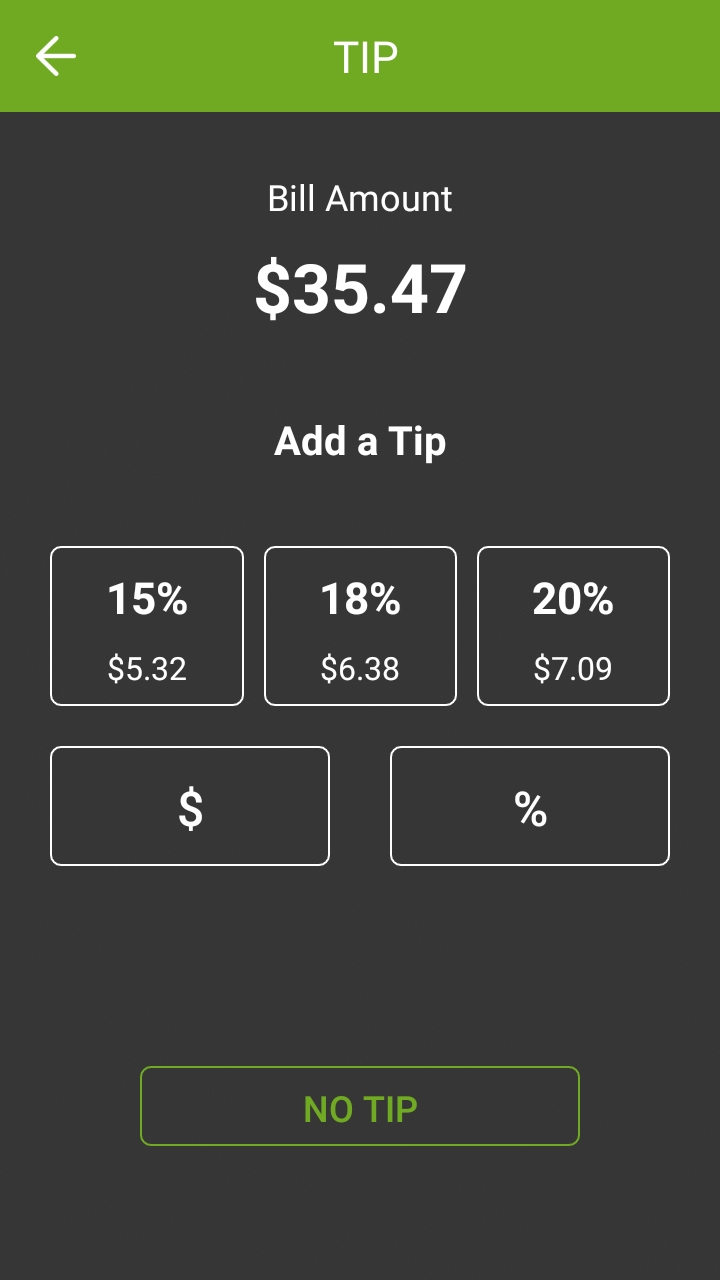
Bill Amount
This section shows the total amount to be paid.
Add a Tip
In this section, the tip presets configured in the Tip Preset Percentages in SecurePay's advanced settings are displayed. Each percentage box also indicates the corresponding dollar amount.
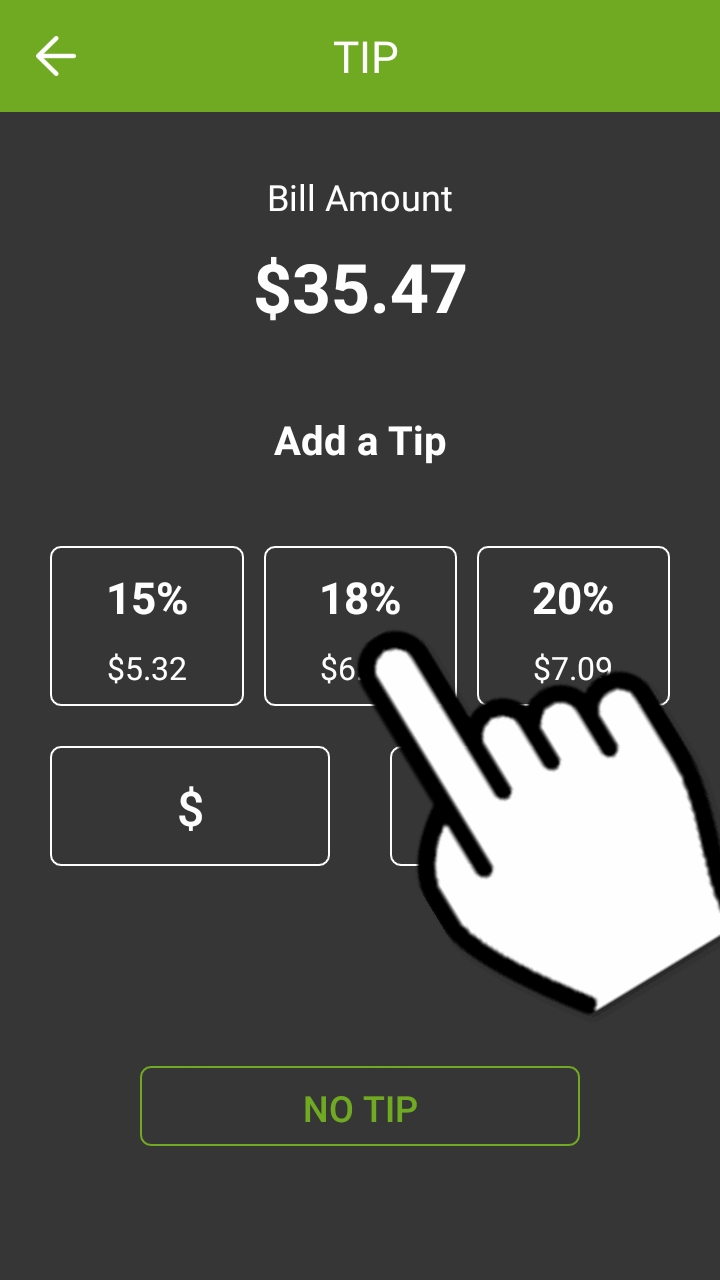
Touching a preset automatically adds the stated tip amount to the transaction.
$
Touch the $ button to enter a custom dollar amount as tip instead of using a preset.
%
Touch the % button to enter a custom percentage of tip instead of using a preset.
NO TIP
Touch this button to skip the tip entry process altogether and leave no tip.
The screen below only appears if the customer touches the $ button to enter a custom tip amount.
The customer uses the provided keypad to enter a tip amount, which will make the green CONFIRM button available.
The customer can use the backspace key to correct typing mistakes.
When ready, the customer presses the green CONFIRM button.
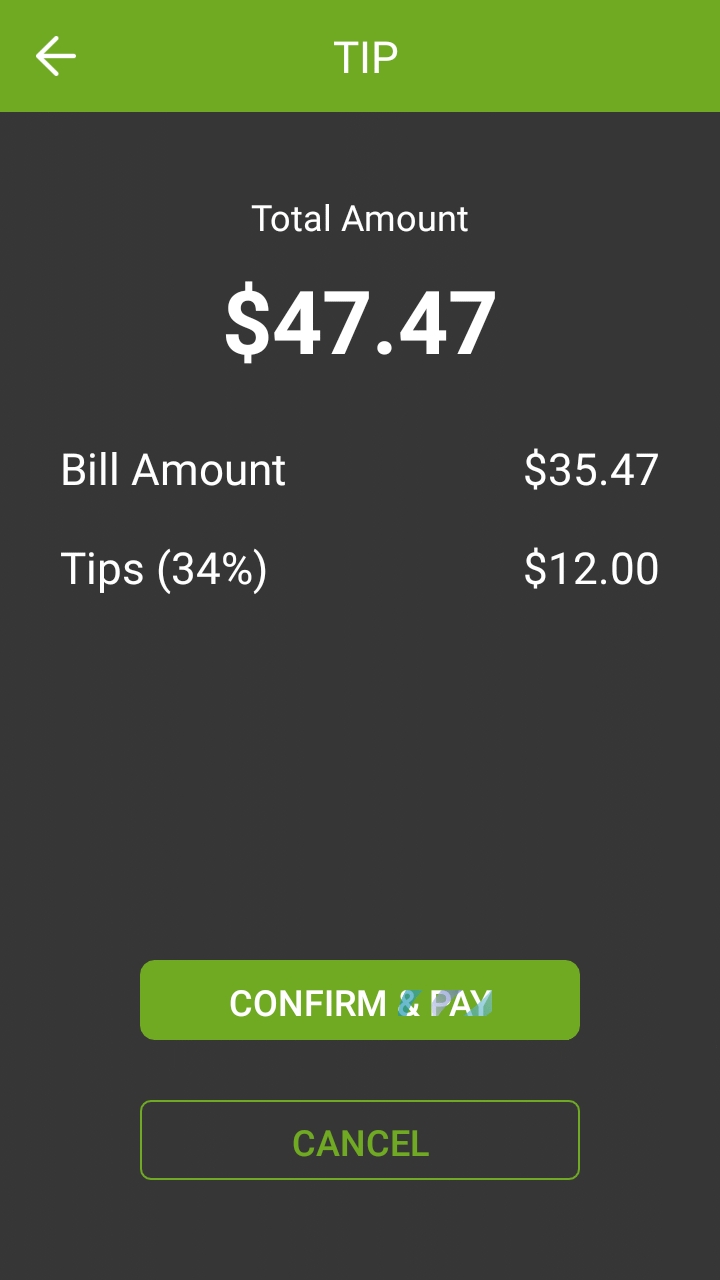
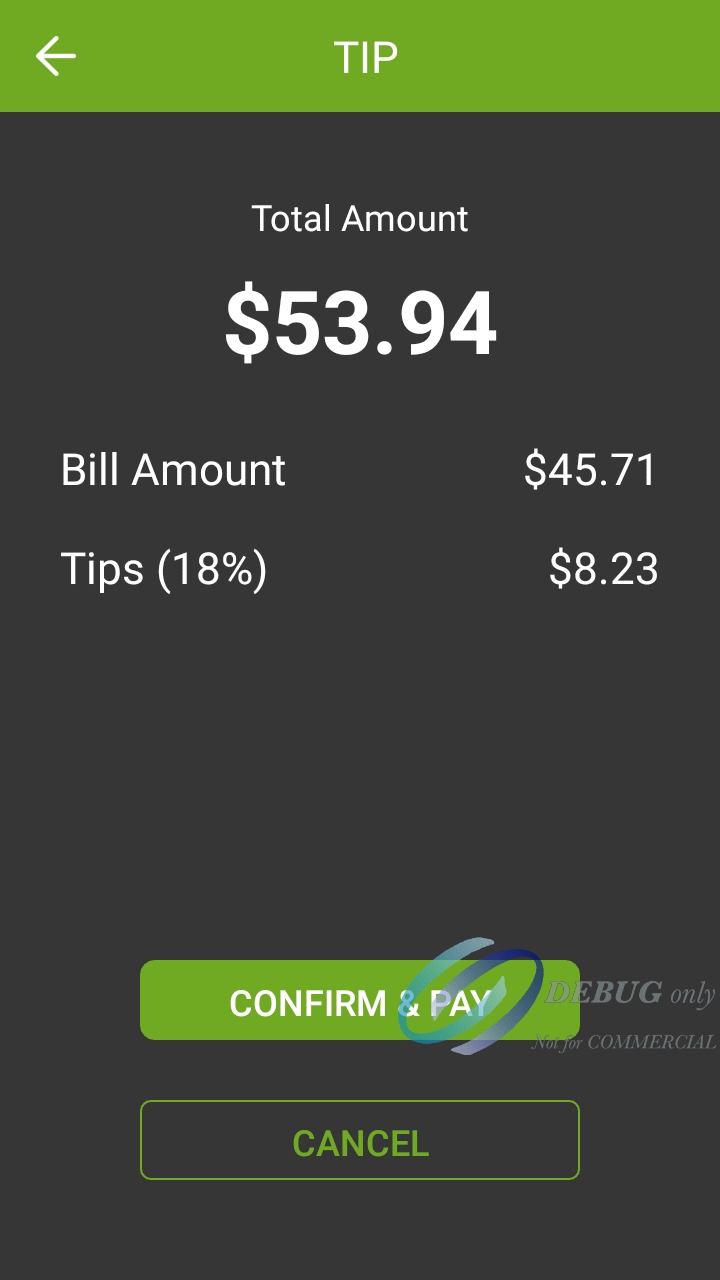
If the Enable Confirmation option is enabled in the SecurePay application settings, the tip confirmation screen will appear. This is the last confirmation before the actual payment.
Total amount
This is the total amount to be paid, which is calculated from the check amount plus tip amount.
Bill Amount
This is the amount that was passed from the POS system. It is also known as the Check amount or Invoice amount, depending on the terminology used by the POS system.
Tips (__%)
This field displays the tip amount added. The percentage between parenthesis is calculated from the Bill amount vs. tip amount, and is always rounded to the nearest percentage point.
CONFIRM & PAY
Touch this button to proceed with the actual payment.
CANCEL
Touch this button to cancel the transaction and return to the home screen to start over. A confirmation screen will be displayed before actually cancelling the operation.
At this point, SecurePay will call the payment application installed on the payment terminal. The prompts that the customer will see will depend on the payment application used and the card type used. For more information on this specific part of the workflow, please consult your payment application's documentation.
After the payment has been authorized by the payment application, the payment data will be sent to the POS system. Note that only non-sensitive data is exchanged between SecurePay and the POS system.
Once this is done, the application will return to its home screen.
The payment workflow with SecurePay is now complete, and the application is ready to process the next payment.
