Advanced POS UI Screen Issue
Locate and Repair expanded buttons
Locate and Repair overlapping buttons
POS Failing to Start
Advanced POS UI Screen Issues
This troubleshooting guide will be helpful if an existing Maitre'D database is upgraded to version 7.08.000.410 or later for use with the Advanced POS User Interface (HTML POS).
Legacy preferential screens and Sreen Layouts can have defects that would prevent the Advanced User Interface from working correctly. These defects may even prevent the Advanced POS from loading properly.
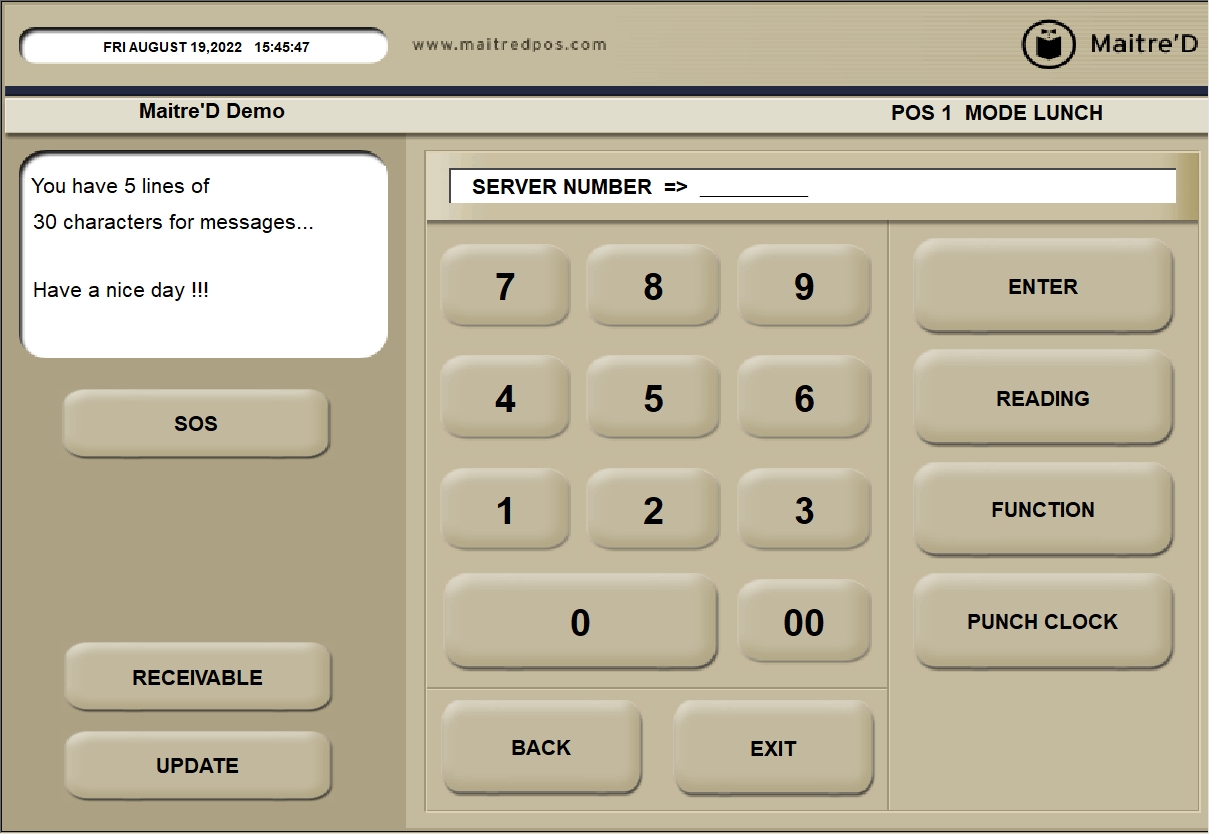
The POS will not start in Advanced POS UI mode, but does start in Legacy POS UI mode.
In advanced UI mode, the POS hangs, becomes unresponsive or crashes when specific screens are accessed.
In advanced UI mode, the POS hangs, becomes unresponsive or crashes when logging in with certain employees.
Some Preferential Screen or Screen Layout buttons look awkward, especially those located near the edges of the screen.
To resolve these issues, follow the steps below:
Temporarily revert to the Legacy POS User Interface. (See below)
.
.
.
Logon to the Maitre’D Back-Office with appropriate credentials. (Distributor or System Owner)
Start the Point of Sale Control module.
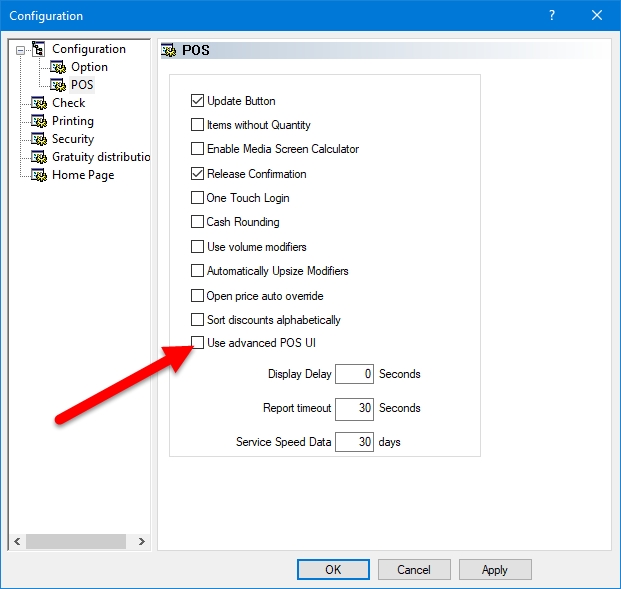
Click on the View menu and select the Options... option.
The Point of Sale Control module's options window opens on the Configuration branch.
Click on the POS sub-branch and disable the Use advanced POS UI option.
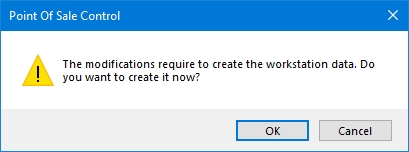
Click OK. You will be asked to create the workstation data. Click OK to proceed. The entire process could take from a few seconds to a few minutes, depending on your system's performance and the number of workstations on your Maitre'D license.
The options window will close, and you will be back to the Point of Sale Control module.
At this point, the POS workstations should automatically restart with the Legacy POS User Interface.
This article covers cases where the Maitre'D POS won't start and fails to display any meaningful error messages.
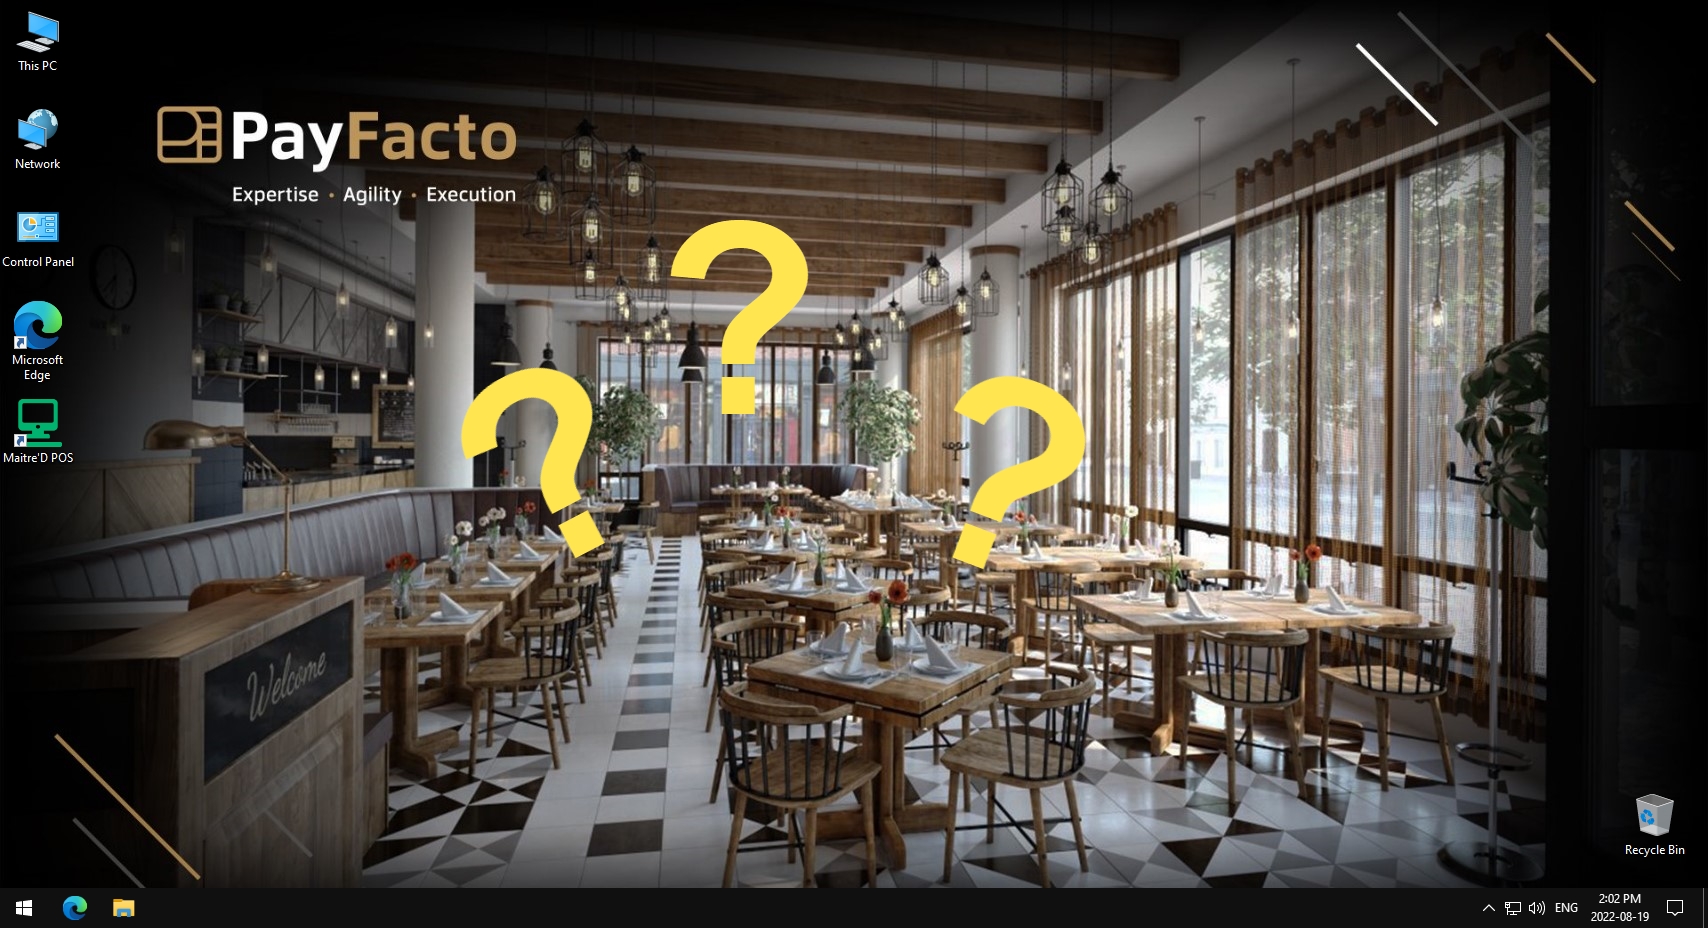
As the POS is rebooted and the user logs on to Windows, the POS appears as if it is going to start, but then nothing happens and you are left at the Windows desktop with no error message and no visible clue as to what could have happened.
The POS seems like it is going to start...
... But then nothing else happens and no POS in sight...
Attempting to start the POS using the Maitre'D POS shortcut or by manually running Starter.exe directly from the C:\WS folder produces the same result.
This type of behaviour is more common on brand new hardware that is being setup for the very first time, or refurbished hardware which was completely wiped and returned to its original factory configuration.
To get a better idea of what is going on, try the following steps:
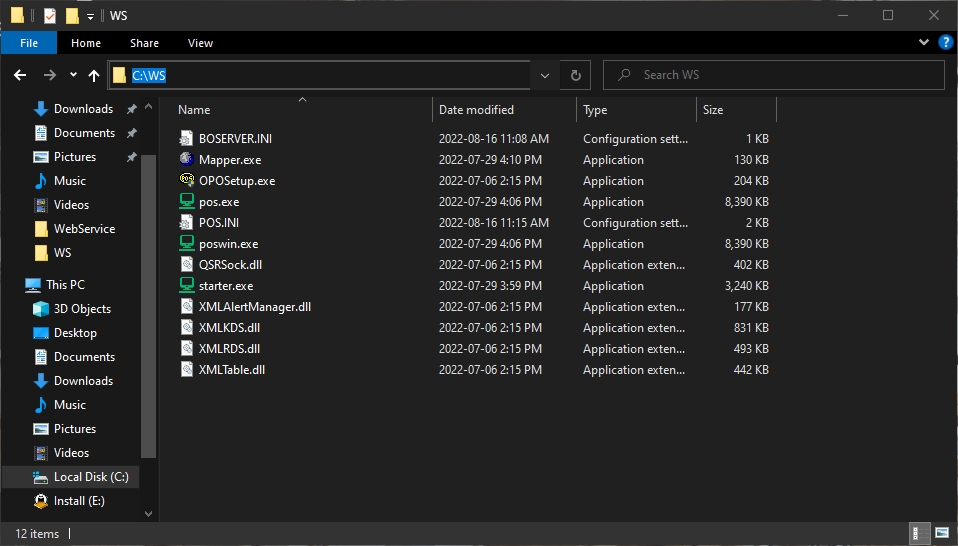
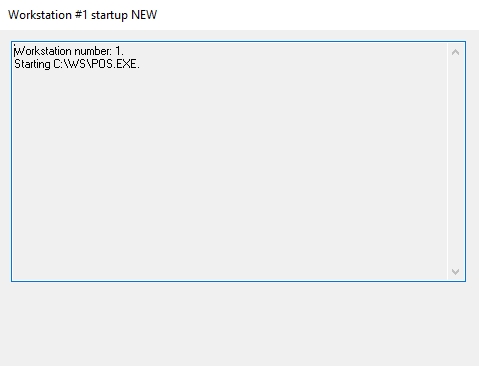
Using Windows File Explorer, browse to C:\WS\.
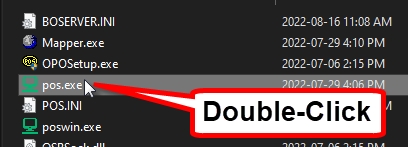
If you see only about a dozen items in the WS folder, as in the screenshot above, this is already a sign that something is not right, but let's troubleshoot further. Locate the file called pos.exe. Double-click the file to execute it.
3. You may get various error messages at this point. The next steps to carry out will depend on which error message you get.
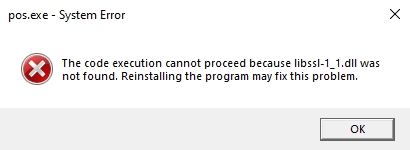
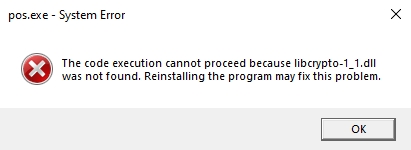
You may get either (or both) of the following error messages:
The code execution cannot proceed because libssl-1_1.dll was not found. Reinstalling the program may fix the problem.
The code execution cannot proceed because libcrypto-1_1.dll was not found. Reinstalling the program may fix the problem.
Both of these error messages mean that during the POS installation process, a special installer called Wsupd.exe did not run, was prevented from running, or crashed while it was running.
Run Wsupd.exe manually:
From the POS, at the Windows desktop, right-click the start button and select the Run option.
In the Run dialog box, type two back-slashes ( \\ ) followed by the host name of the PC where the Maitre'D Back-Office is installed, then click OK.
You may be asked to enter your credentials. Do so, and be sure to activate the Remember my credentials checkbox.
If your network is configured correctly, you will see the MaitreD shared folder through the network.
IMPORTANT! If you can't see the MaitreD shared folder through the network or if you are getting error messages, there is most likely something wrong with your network settings. Please review the Maitre'D Back-Office installation procedures and, more specifically, how to .
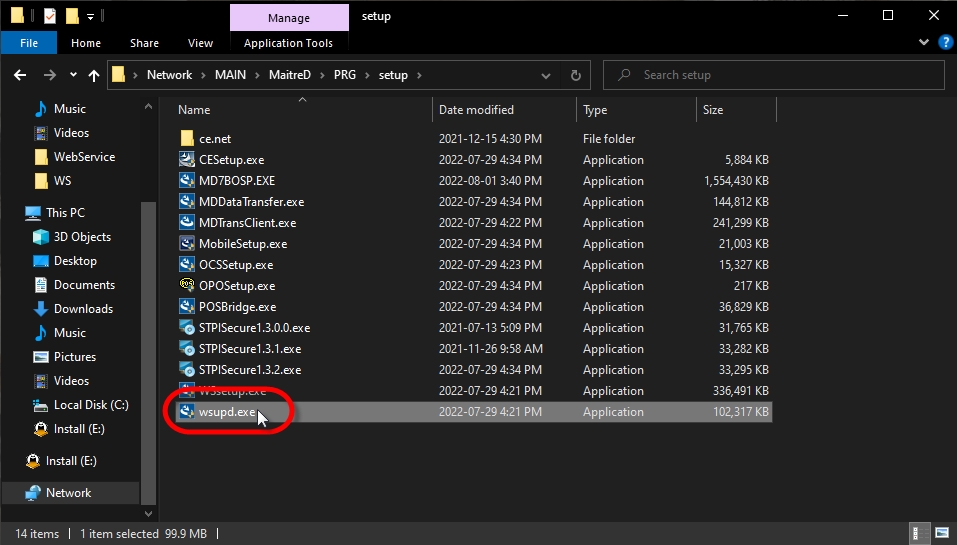
Browse to the MaitreD\PRG\Setup folder, and double-click the wsupd.exe installer.
You will see a UAC warning. Click Yes to proceed.
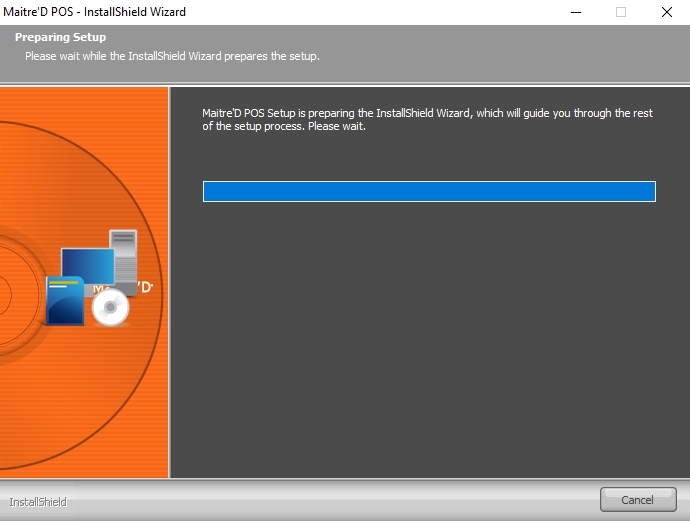
The InstallShield wizard will start and automatically install files.
Once the InstallShield Wizard finishes copying files, the PC will automatically be restarted. This is forced and cannot be prevented.
Logon to Windows and start the Maitre'D POS software again. This time, it should start just fine.
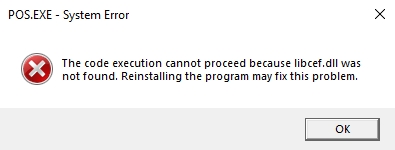
The code execution cannot proceed because libcef.dll was not found. Reinstalling the program may fix the problem
This error message occurs only in very specific circumstances, and only after dealing with the two other errors listed above. This is an issue with the Maitre'D POS application installer (WSsetup.exe) which only occurs while attempting to install the Maitre'D POS application on new hardware with the "Use advanced POS UI" option enabled. This is a known issue which is fixed in a later Maitre'D release.
Install the latest Maitre'D version.
If it is not possible to install the latest Maitre'D version, a workaround is available:
IMPORTANT! The workaround below is only a temporary fix. Please install the latest version of the Maitre'D Back-Office as soon as possible.
Logon to the Maitre’D Back-Office with appropriate credentials. (Distributor or System Owner)
Start the Point of Sale Control module.
Click on the View menu and select the Options... option.
The Point of Sale Control module's options window opens on the Configuration branch.
Click on the POS sub-branch:
Disable the Use Advanced POS UI option, then click OK to apply changes. You will see a prompt to create workstation data. Click OK to accept and create workstation data now
Workstation data is being created. Wait a few seconds for this process to complete.
Go back to the POS workstation.
From the POS, at the Windows desktop, right-click the start button and select the Run option.
In the Run dialog box, type two back-slashes ( \\ ) followed by the host name of the PC where the Maitre'D Back-Office is installed, then click OK.
You may be asked to enter your credentials. Do so, and be sure to activate the Remember my credentials checkbox.
If your network is configured correctly, you will see the MaitreD shared folder through the network.
IMPORTANT! If you can't see the MaitreD shared folder through the network or if you are getting error messages, there is most likely something wrong with your network settings. Please review the Maitre'D Back-Office installation procedures and, more specifically, how to .
Browse to the MaitreD\PRG\Setup folder, and double-click the wsupd.exe installer.
You will see a UAC warning. Click Yes to proceed.
The InstallShield wizard will start and automatically install files.
Once the InstallShield Wizard finishes copying files, the PC will automatically be restarted. This is forced and cannot be prevented.
Logon to Windows and start the Maitre'D POS software again. This time, the workstation will start, but will be in Legacy UI mode.
In other words, the POS needs to start in Legacy mode at least once before you can use the Advanced POS UI.
If you wish to use the Advanced POS UI, re-enable the option in Point of Sale Control > View > Options > Configuration > POS, then click OK and be sure to create workstation data again.
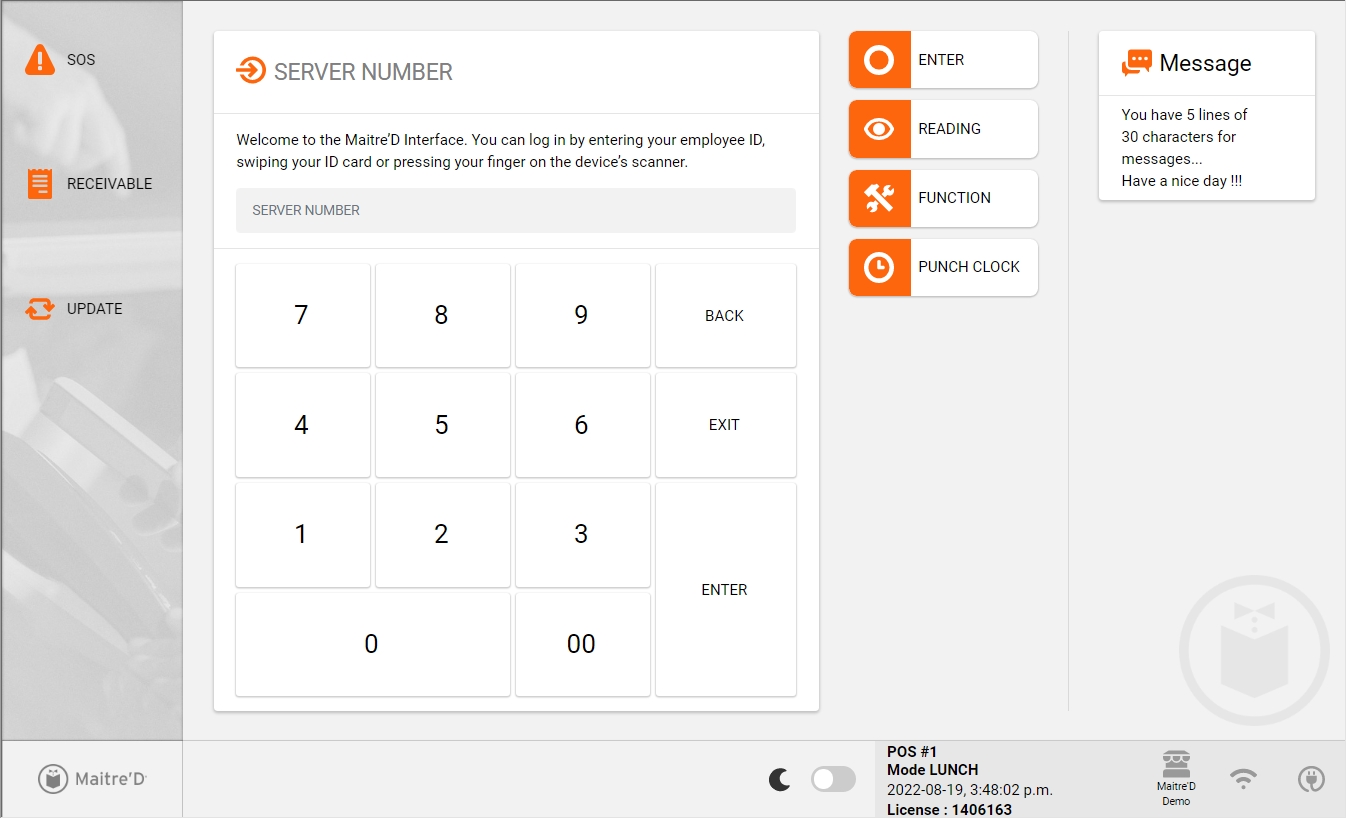
The Maitre'D POS application will restart itself and reload with the Advanced UI (HTML POS).
If the proposed solutions did not fix the issues you are experiencing, please call the PayFacto helpdesk.
When preferential screens are created and later modified, it is possible to accidentally have buttons that overlap each other. This wasn't much of an issue with the Legacy POS User Interface, but this can lead to random crashes or even the POS not starting at all with the Advanced POS UI.
Logon to the Maitre’D Back-Office with appropriate credentials. (Distributor or System Owner)
Start the Point of Sale Control module.
Click on the Screens menu and select Preferential Screen setup...
The list of available Preferential Screens is displayed.
Select an existing preferential screen and click the Modify button to edit its properties.
The preferential Screen Editor will appear (Legacy UI mode).
Overlapping buttons can happen when enabling the Right Expand or Bottom Expand options next to existing buttons. Buttons to the right and below the expanded button still exists, but are now hidden by the expanded button. This will cause unexpected behaviour with the Advanced POS User Interface.
To fix the issue, you can disable the expand options and leave them disabled. You may also delete the hidden buttons before re-enabling the desired expand options.
Unfortunately, there is no easy way to spot overlapping buttons. The only way is to open the properties of each expanded button, disable the expand options and see if there were one or more buttons hiding behind it.
Overlapping buttons can also be found in Screen Layouts. The procedure to locate and fix them is exactly the same as for Preferential Screens.
Related Topics
When preferential screens are created and later modified, it is possible to accidentally have buttons that expand beyond the screen boundaries. This wasn't much of an issue with the Legacy POS User Interface, but this can lead to random crashes or even the POS not starting at all with the Advanced POS UI.
Logon to the Maitre’D Back-Office with appropriate credentials. (Distributor or System Owner)
Start the Point of Sale Control module.
Click on the Screens menu and select Preferential Screen setup...
The list of available Preferential Screens is displayed.
Select an existing preferential screen and click the Modify button to edit its properties.
The Preferential Screen Editor will appear (Legacy UI mode).
On some occasions, it is possible to have buttons where the Right Expand or Bottom Expand options are enabled but grayed out because the button is on the edge of the screen.
This happens when copying or moving an already “expanded” button to the right or bottom edges of the screen. It can also happen if the screen's properties were changed. Here are a few tricks that can help in identifying problematic buttons:
If the screen has fewer than 50 buttons, increase the screen size to quickly spot expanded buttons and fix them before reverting to the original screen size.
Here is an example with “Screen 18” where everything looks normal:
Increasing the number of buttons by switching to “Screen 36” shows that some expanded buttons were actually hiding on the edge of the screen:
50 is the maximum number of buttons that can fit on one screen. To quickly spot problematic buttons in this case:
Make a mental note of the buttons that are on the rightmost column and on the bottom row.
Click on the Screen button and change the screen to a smaller button count, for instance “Screen 36”.
Use the Previous and Next buttons to navigate across multiple pages of buttons. Look for any button that looks awkward. The text and graphics on problematic buttons will appear truncated or strangely formatted.
Fix the buttons by disabling the appropriate expanded options.
Revert the screen to its original size. Click the Close button to save changes.
The same issue can occur on Screen Layouts. However, there are no fancy tricks to detect out-of-bounds buttons.
Logon to the Maitre’D Back-Office with appropriate credentials. (Distributor or System Owner)
Start the Point of Sale Control module.
Click on the Screens menu and select Screens layout setup...
The list of available screen layouts is displayed.
Select an existing screen layout and click the Modify button to edit its properties.
The Screen Layout Editor screen will appear.
Unfortunately, there are no fancy tricks to detect problematic buttons on Screen Layouts. You need to double-click on each button that is located near an edge and look for grayed-out expand options:
Next, you will need to move the button (drag & drop) to an empty space that will allow it to expand properly. Then, you will be able to disable the Expand options and move the button back to where it was.