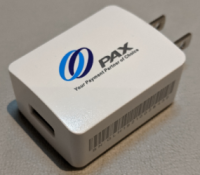
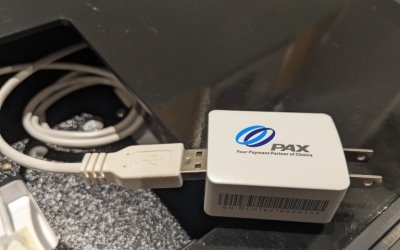
To ensure the best charging results, you must use the original AC power adapter that came with your PAX A920 or A920 Pro terminals. The AC power adapter should have the PAX logo printed on one side as shown below:
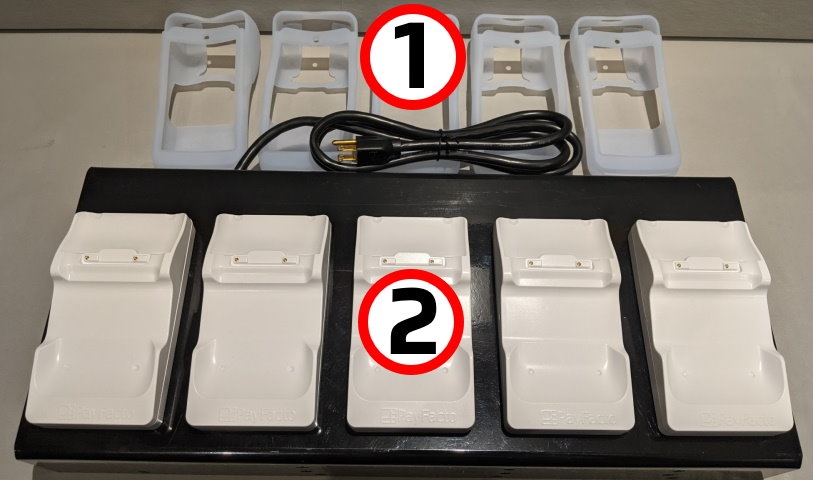
Your multi-terminal charging base comes with the following:
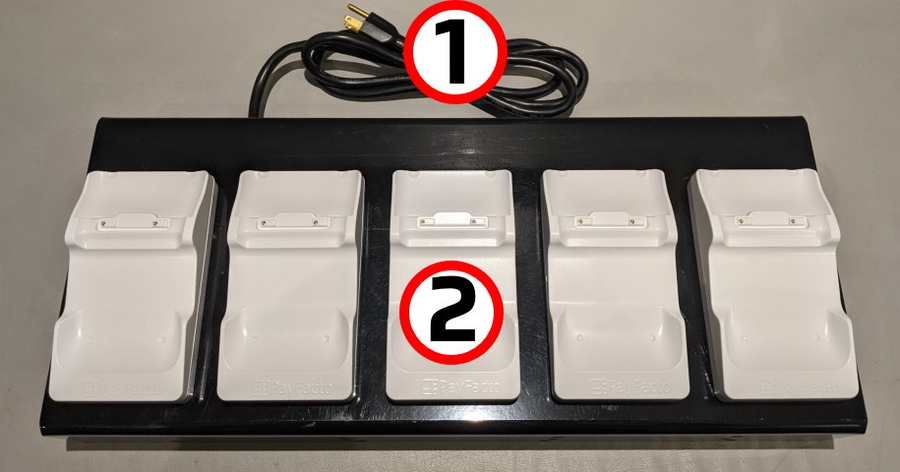
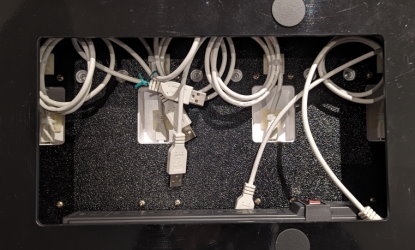
The following images show the location of the main charging base components:
AC power cord
Multi-terminal charging bases (x5)
USB charging cables (x5)
Six (6) outlet power bar
Anti-slip rubber pads
Protective silicone sleeves (x5)
Multi-terminal charging base
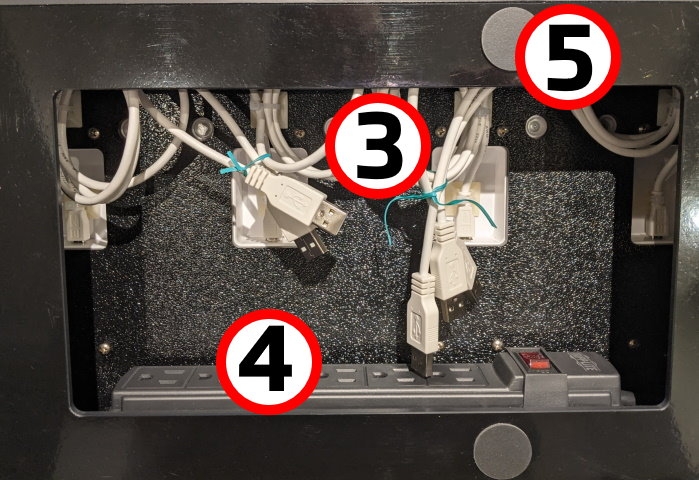
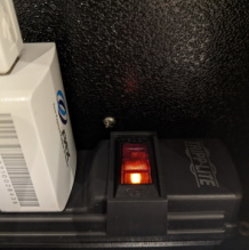
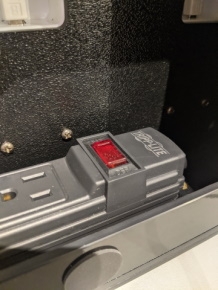
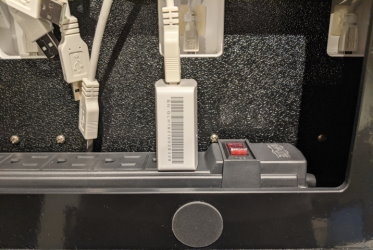
The multi-terminal charging base has a power switch on the attached power bar, shown below:
• To power on the terminal charging base, make sure the power cord is plugged into a grounded AC outlet and that the power switch is in the On/RESETposition; the switch lights up with a red indicator, as shown below:
• To power off the terminal charging base, you can either push the power switch to the OFF position or unplug the power cord from the grounded AC outlet.
To use the charging base, you need only place the terminal(s) vertically on the base so the printer rests in the cradle at the top of the charging base.
NOTE: The charging base should only be used to charge your terminal(s); it is not designed to be a storage location for the terminal(s).
If the status light remains blue after you place the terminal on the base, the terminal is not seated correctly, and not connecting to the base’s gold charging contacts.
IMPORTANT! Do not slide a terminal onto the base, as it can damage the gold charging contacts. Always place the terminal onto the base vertically, as shown below:
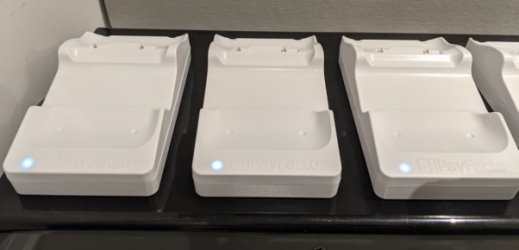
The LED at the bottom edge of the charging base indicates the terminal’s charging status:
LED Color
A920
A920 Pro
Blue: Charging base is plugged in, no terminal connected.
Red/Yellow: Terminal is charging.
Green: Terminal is fully charged.

Before you install and connect the multi-terminal charging base, make sure that the desired location is within reach of an AC outlet and that there is enough space to for the charging base and the terminals when connected.
Collect the original AC power adapters that were shipped with your PAX A920 or A920 Pro terminals (maximum of 5 per multi-terminal charging base).
Turn the multi-terminal charging base over to access the opening on the bottom.
Remove any twist ties that secure the charging cables together. Do not remove any of the nylon zip ties as each cable should be long enough to reach an outlet on the power bar.
Working one cable at a time, connect the cable’s USB plug into the AC adapter’s USB port.
Plug the adapter into an outlet on the power bar.
Repeat steps 4 and 5 for each additional charging cable.
After you connect all 5 cables to the power bar, plug in the power bar's cable to an available AC outlet.
If it is not already, switch the power bar's power button to the On/RESETposition; the switch lights up with a red indicator and the LEDs at the bottom edge of the charging bases light up.
Turn the multi-terminal charging base over to place it securely in its desired location. The base is ready to begin charging your terminals.
IMPORTANT! To minimize the risk of short-circuits and reduce the risk of fire, DO NOT connect any additional devices to the charging base's power bar.
To protect your PAX A920 or A920 Pro terminals from minor impact damage, you should install the silicone sleeves provided with the multi-terminal charging base as the charging bases are designed specifically for terminals with the sleeve.
Insert the top of the terminal into the sleeve's printer protection until the sleeve fits snugly onto the terminal’s top.
Pull the bottom of the sleeve over the bottom edge of the terminal.
Repeat for every terminal you intend to place on the charging bases.
NOTE: To add or change a SIM card, you need to remove the sleeve from the terminal.