Loading...
Loading...
Loading...
Loading...
Loading...
Loading...
Loading...
Loading...
The Export option from the File menu allows to export the currently displayed report in a variety of file formats, such as PDF, HTML or XML. You can save this report on a disk file, Exchange Folder or Microsoft Mail, if you have email functionality on your server, to send it by email to a colleague.
When you select this option the following screen will display:
Format branch
Select the file format to export
Format
Enable from the list your preferred format. Available formats are Acrobat (PDF), HTML, XML, Crystal Report file, Word document, Text, Tabbed Text or Lotus. Acrobat (PDF) is an ideal format for securing your data from edition.
Destination type
Select from the list whether to save the data to disk, or email it though Microsoft Mail (MAPI).
Send to Web Service
Enable this option so that the data is exported towards the Databoard.
Save to document
Enable this option so that the data is exported automatically each time the report is generated.
Page Range branch
>Select the page range to export
All
Enable this option to export all pages of the report
Page Range
Enable this option to export a range of pages from the report.
From
If you selected to export a page range, enter here the first page to be exported.
To
If you selected to export a page range, enter here the last page to be exported.
Destination branch
Select the file destination to export
Browse
Use the browse button to browse to your destination directory.
Directory Name
This field allows to name a subdirectory name within your destination directory. NOTE: This field is only available if the Format selected on the Format branchis HTML or XML.
Base File Name
This field allows to change the default name of the export file.
File name options
Add report generated date
Enable this option to avoid export files from different days to overwrite each other.
To file name
Enable this option to add the report generated date to the Base File Name.
To directory name
Enable this option to add the report generated date to the Directory Name.
HTML branch
Select the export HTML options
Page Navigator
Enable this option to include navigation links between separate HTML pages.
Separate HTML Page
Enable this option to have as many HTML pages as there are report pages. If you disable this option, the whole report will be included on one long HTML page.
Microsoft Mail branch
Select the e-mail addresses to export
Check Names
Use this button to verify if the address entered in the "To…" field is found in your email contacts.
To…
Enter the email address you want to send the export to. Use the "To…" button to select the address from your email contacts.
CC…
Enter the email address you want to send a copy of the export to. Use the "CC…" button to select an address from your email contacts.
Subject
Enter the text that will display in the header of the email.
Message
Enter the text that will display in the body of the email.
The Log option allows to start and view operations traces about Report Center. Three different Log level are available, Standard, Detail and Debug. This option is for trouble shooting purpose and should be use only with the supervision of your Maitre'D reseller.
Log Level:
Three different Log level are available, Standard, Detail and Debug. This option is for trouble shooting purpose and should be use only with the supervision of your Maitre'D reseller.
View:
Use the View key to access to log file.
This function allows to create time frames for the Hourly Report. Enter a Description, and use the Add button to enter time frames and time intervals. You can also use the Wizard to simply enter the Start and End of your time frame, as well as the time intervals.
This option allows to access the report template menu of the Report Center application. Every report template is available under the category branch. After selecting the category of reports and then the specific report within the category you desire you will choose from the available filters to customize your report.
The Close option from the File menu allows to close the currently displayed report. NOTE: This option is not available if no report is currently opened. Logo PayFacto
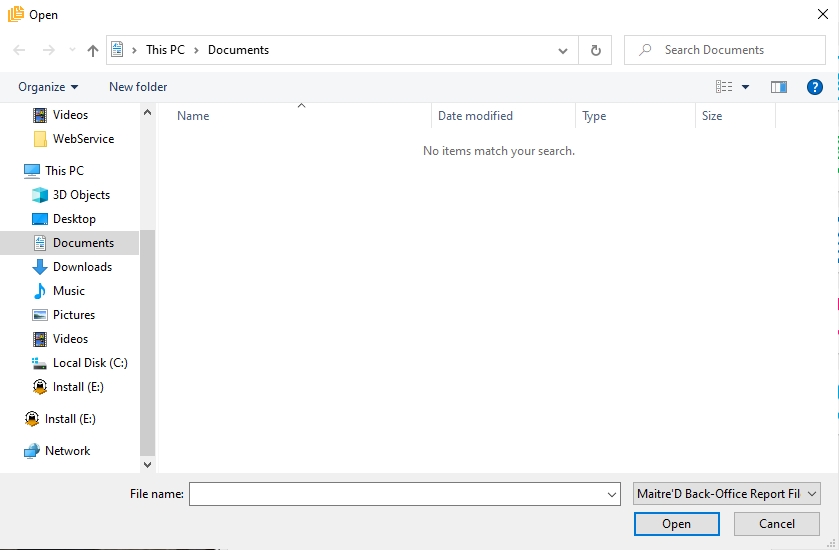
The Open option from the File menu, allows to open custom reports already created with the new options from the File menu. When selecting this option, the default directory where your reports are stored, will prompt you. Select from the reports available, the one you wish to open.
This option is driven by your operating system. This option allows to select the printer and parameters you wish to use to print your reports.